Introduction
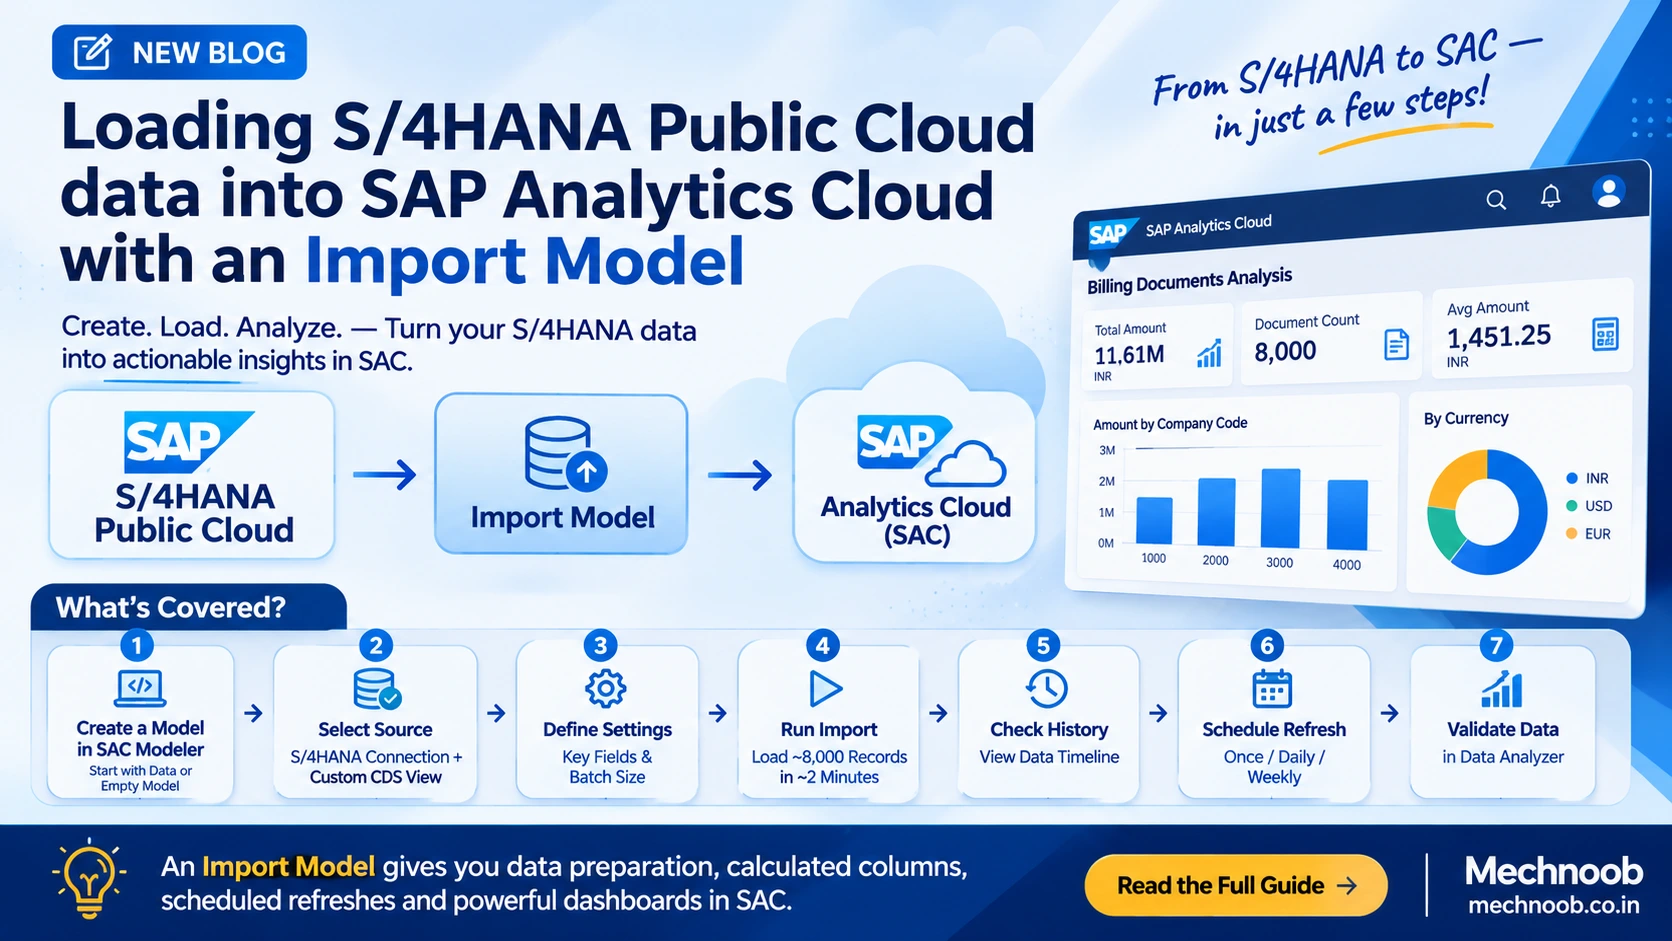
SAP Analytics Cloud (SAC) can import business data from SAP S/4HANA Public Cloud for enterprise reporting, analysis, and planning. Unlike a live connection, an Import Model copies the data into SAC storage. This enables data preparation, calculated columns, scheduled refreshes, and consistent performance for dashboards.
In this tutorial, we will create an Import Model in SAC that consumes a Custom CDS View exposed from S/4HANA Public Cloud through a Custom Communication Scenario. We will cover:
- Creating a model in SAC Modeler.
- Selecting the source connection and source object.
- Configuring key fields and batch size.
- Running the initial data import.
- Scheduling recurring imports.
- Validating the imported data in Data Analyzer.
Prerequisites
Before you begin, ensure the following are in place:
- A Custom CDS View (in this example,
YY1_Billing_Document_Data) exposed as an OData service through a Custom Communication Scenario and an active Communication Arrangement in S/4HANA Public Cloud. - An SAP S/4HANA Import Connection configured in SAC.
- Modeler permissions in your SAC tenant.
Phase 1: Create the Model
Step 1: Start a New Model
Navigate to Modeler and select Model (previously known as Import Model).
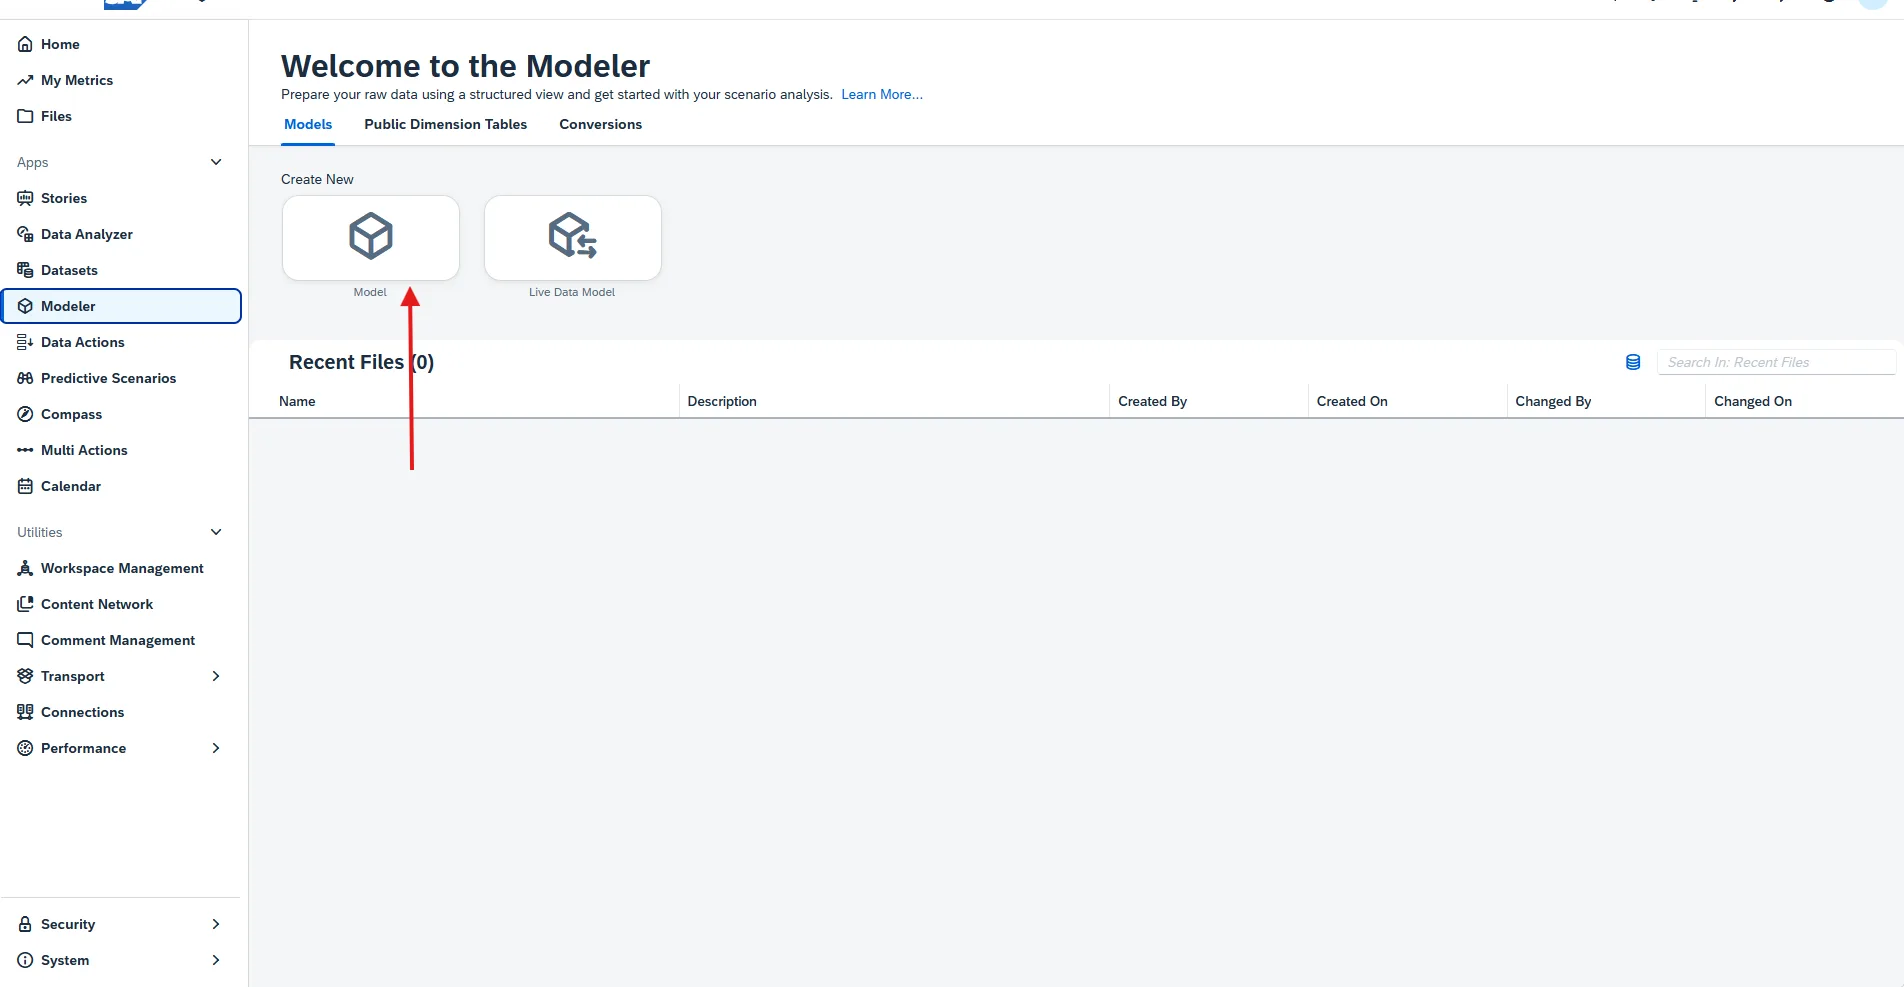
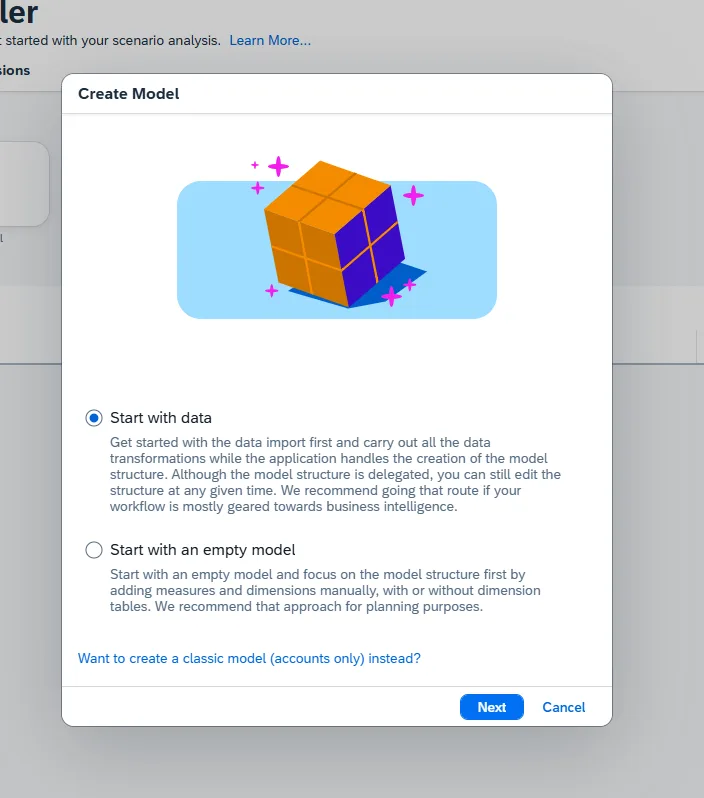
SAC offers two ways to begin:
- Start with Data: Creates the model structure and imports data in a single workflow.
- Start with an Empty Model: Creates only the structure, so you can define dimensions and measures manually and import data later.
For this guide, select Start with Data.
Step 2: Select the Data Source
Choose the system that holds the data you want to bring into SAC. In this scenario, the source is SAP S/4HANA.
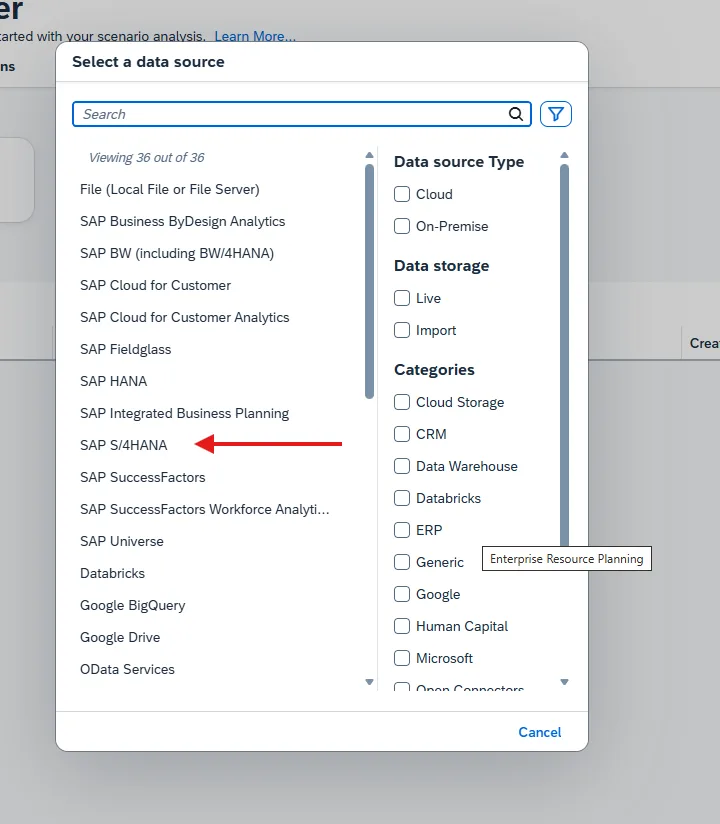
Next, select the connection that was configured previously.
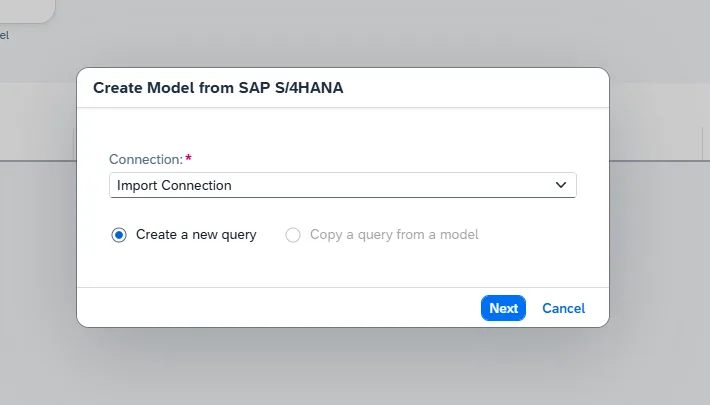
Step 3: Select the Source Object
Browse the available services and select the object you want to replicate in SAC.
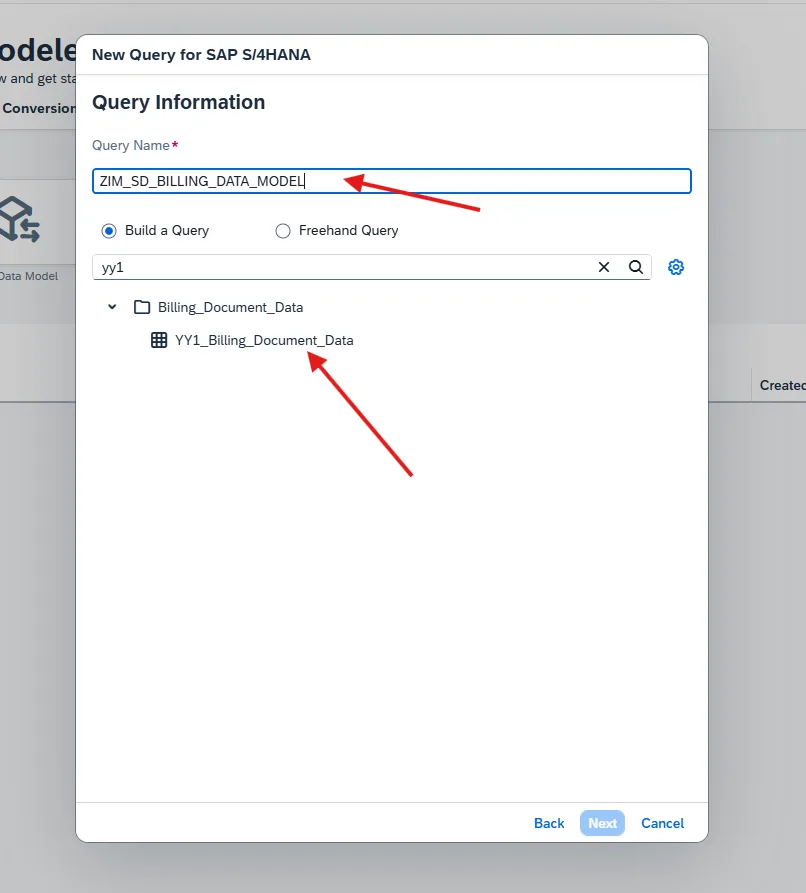
At this point you can choose specific fields and apply filters to reduce the data volume.
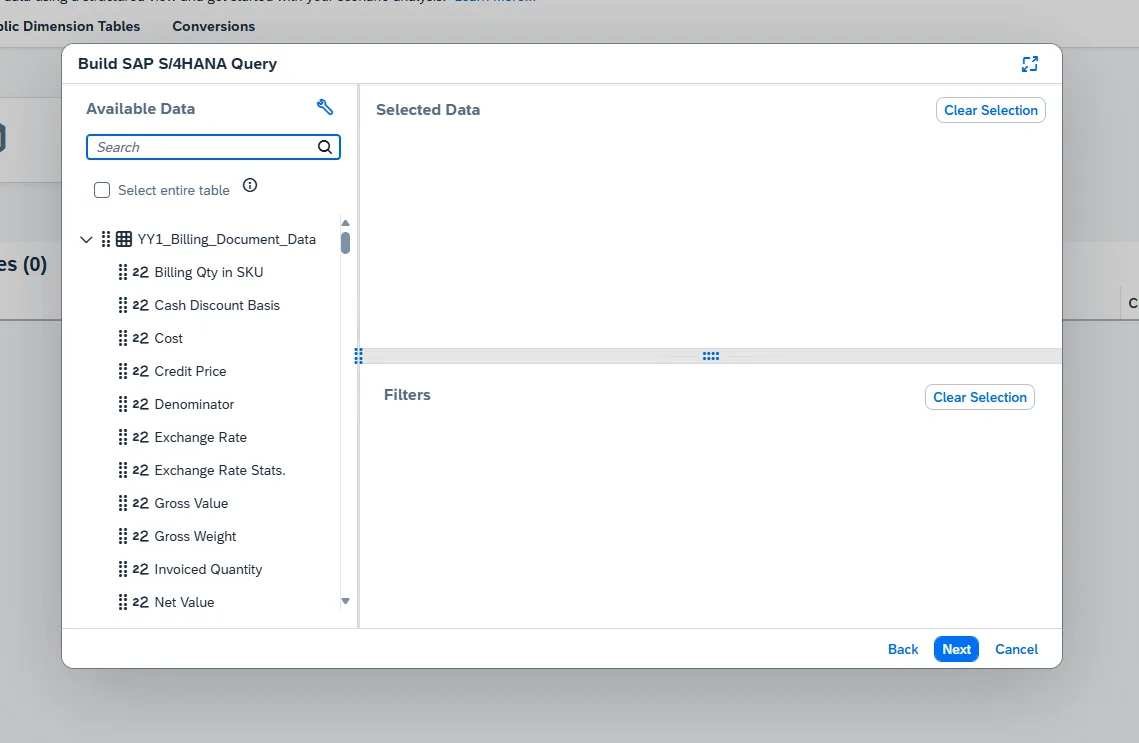
Since we require all available fields, double-click YY1_Billing_Document_Data and click Next.
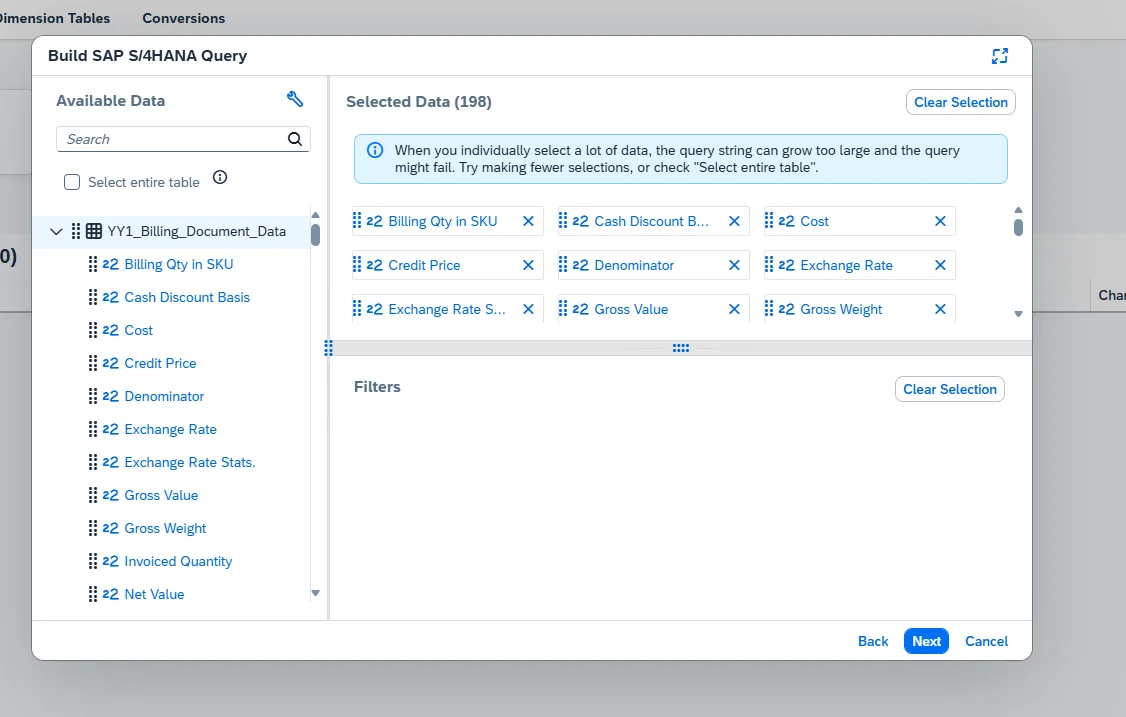
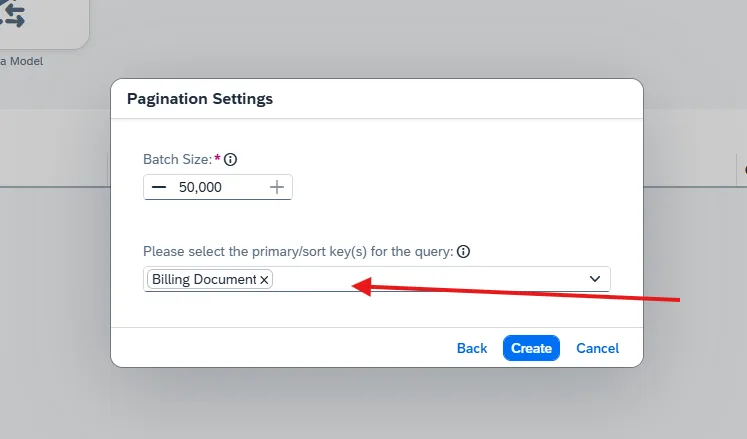
Step 4: Configure Key Fields
Select the appropriate key fields for the model. Defining keys correctly is important because they:
- Improve data retrieval performance.
- Enable incremental (delta) loads.
- Help identify new and updated records.
You can also set the batch size, which controls how many records are retrieved in each API call.
Once the key fields are defined, click Create.
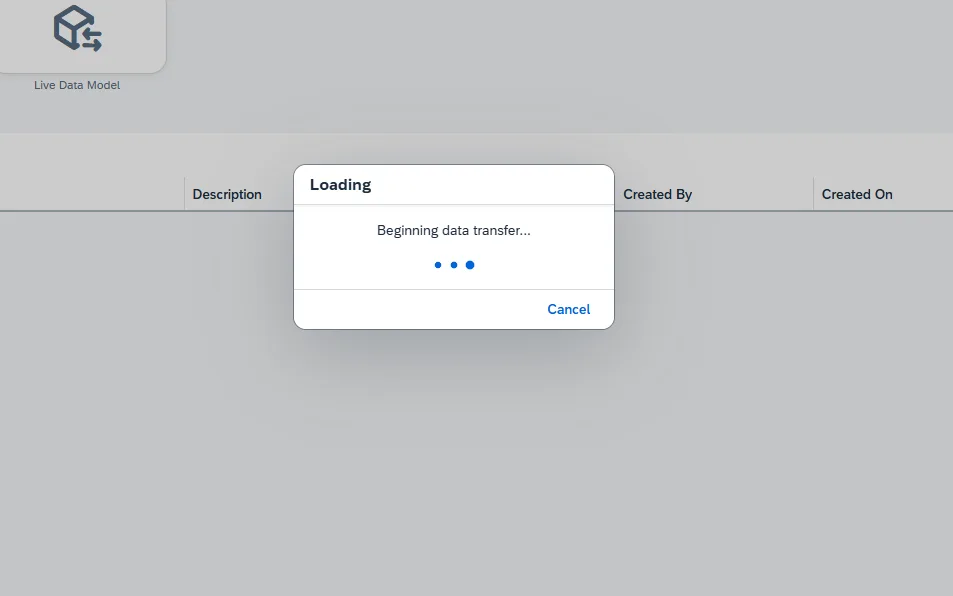
Model generation may take a few moments.
Step 5: Save the Model
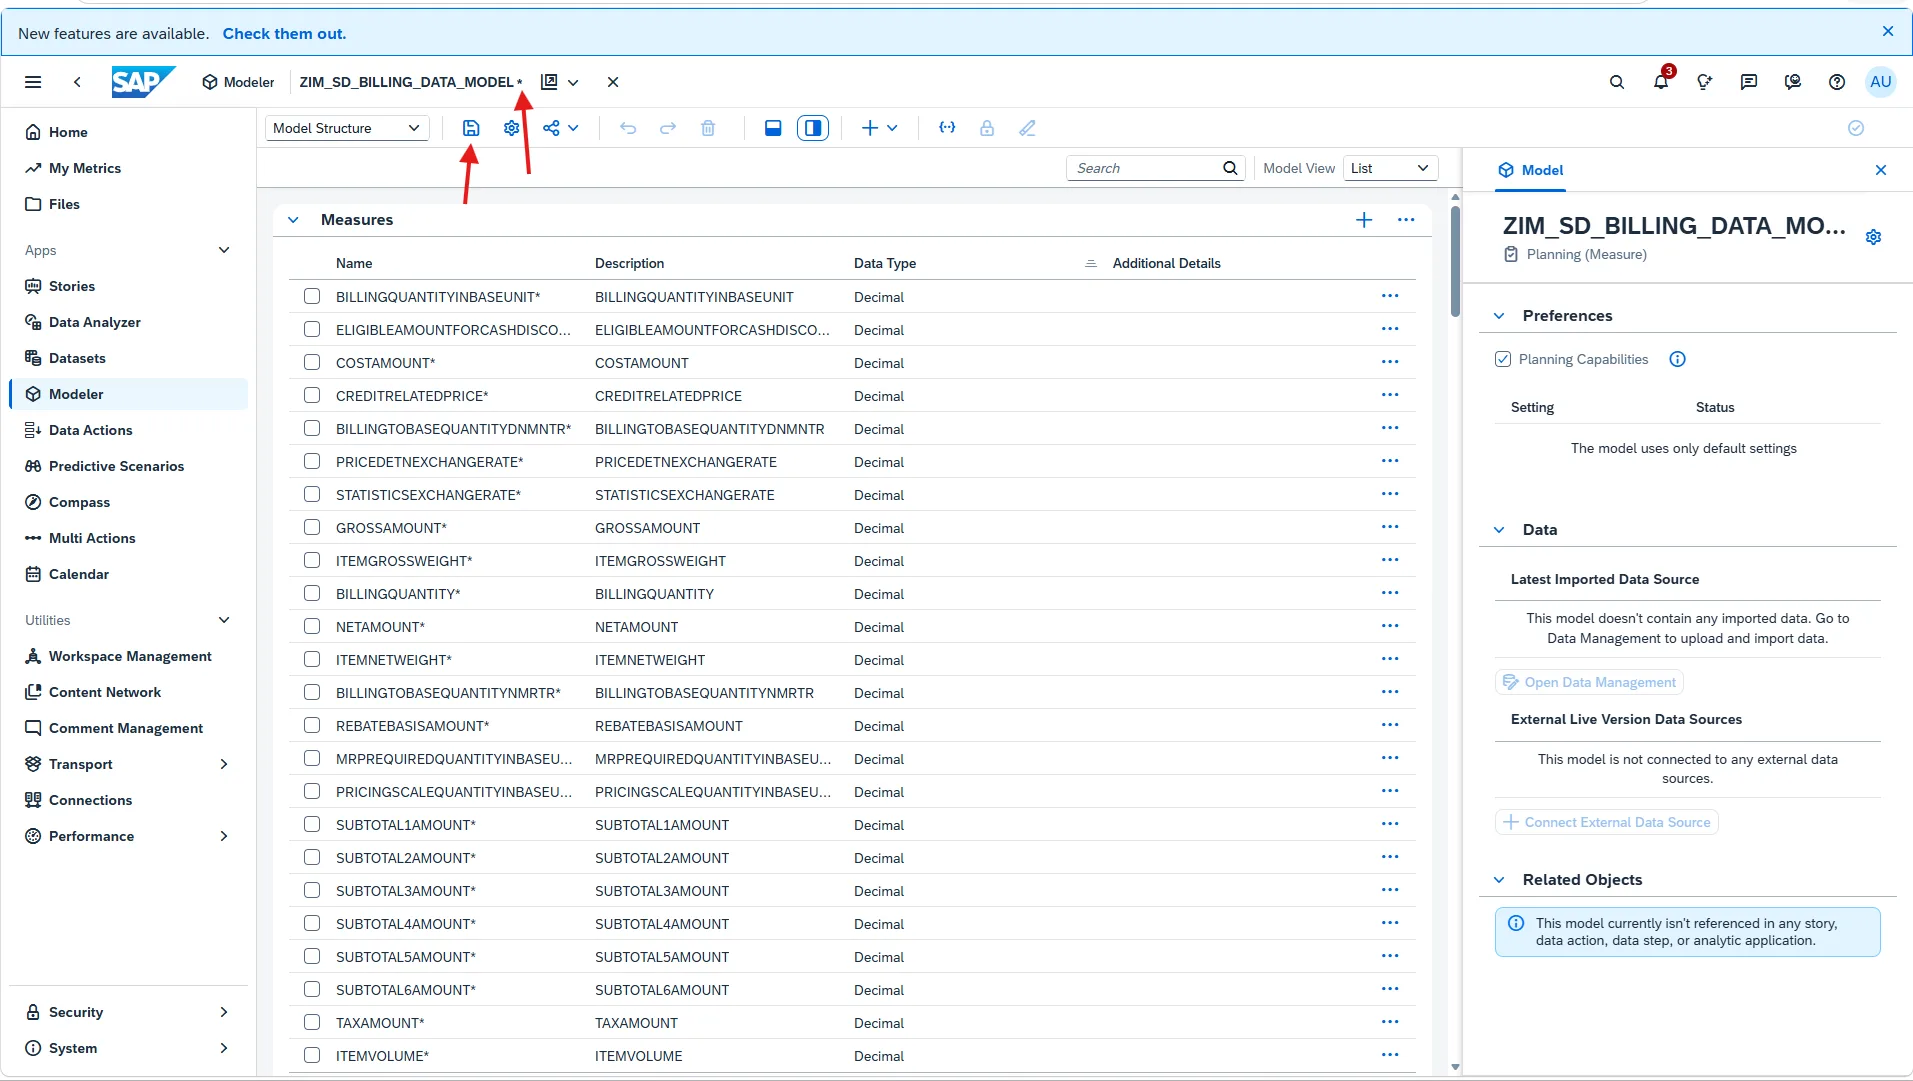
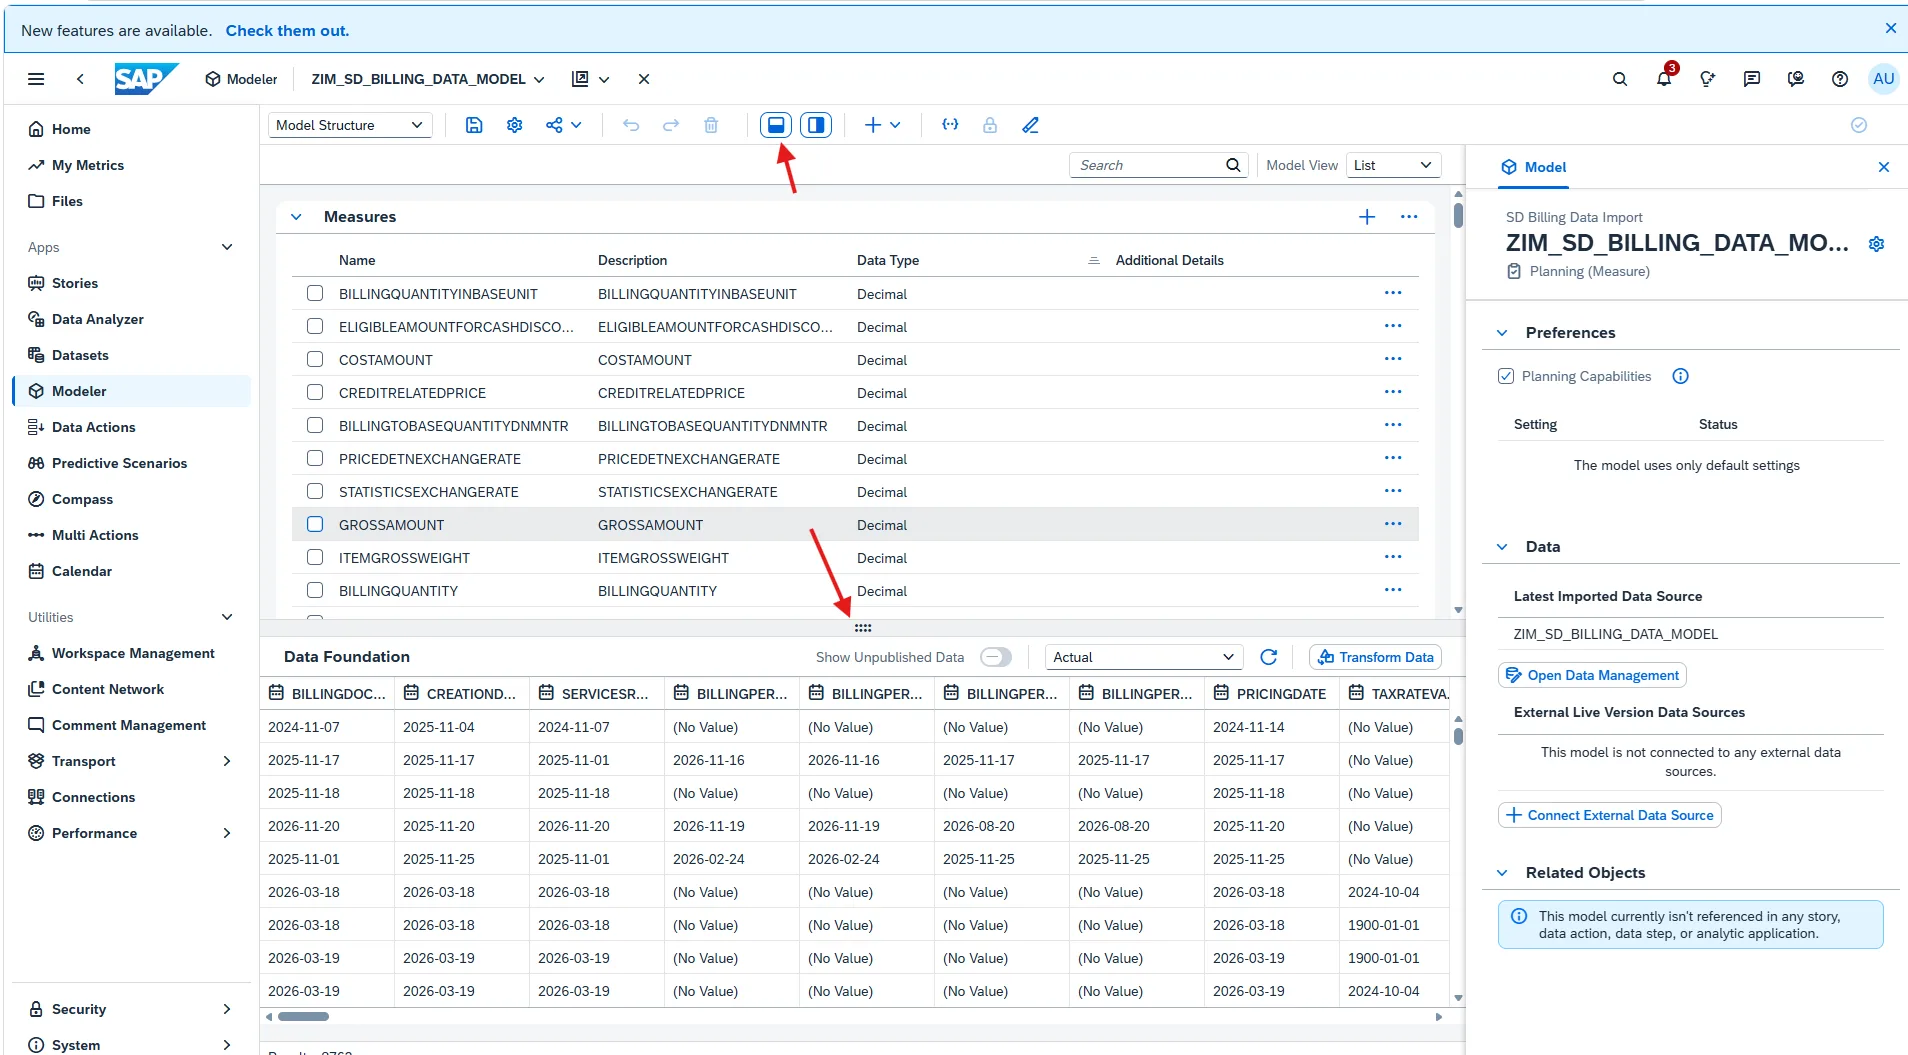
After the model is generated, SAC displays a preview of its structure and data. An asterisk (*) next to the model name indicates that the model has not been saved yet.
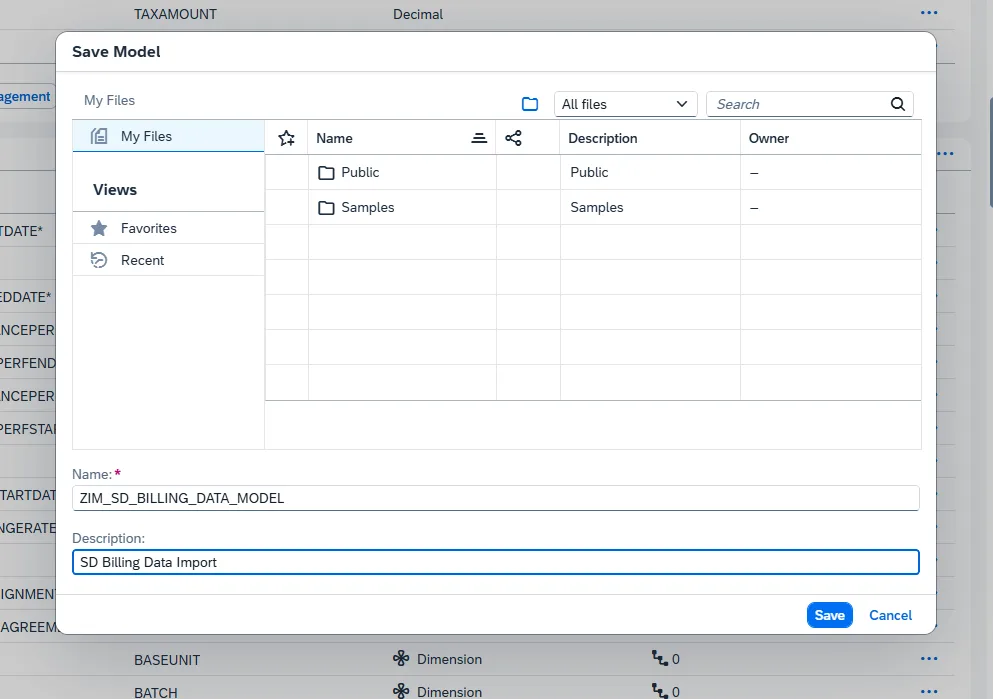
Click Save.
Store the model in your SAC file repository. We recommend maintaining a dedicated Models folder to keep content organized.
Once saved, the model is available in the selected location.
Note: At this stage, the data shown in the preview is still read directly from the source system. It has not yet been imported into SAC storage.
Phase 2: Import the Data
Step 6: Open Data Management
Open the dropdown menu and select Data Management.
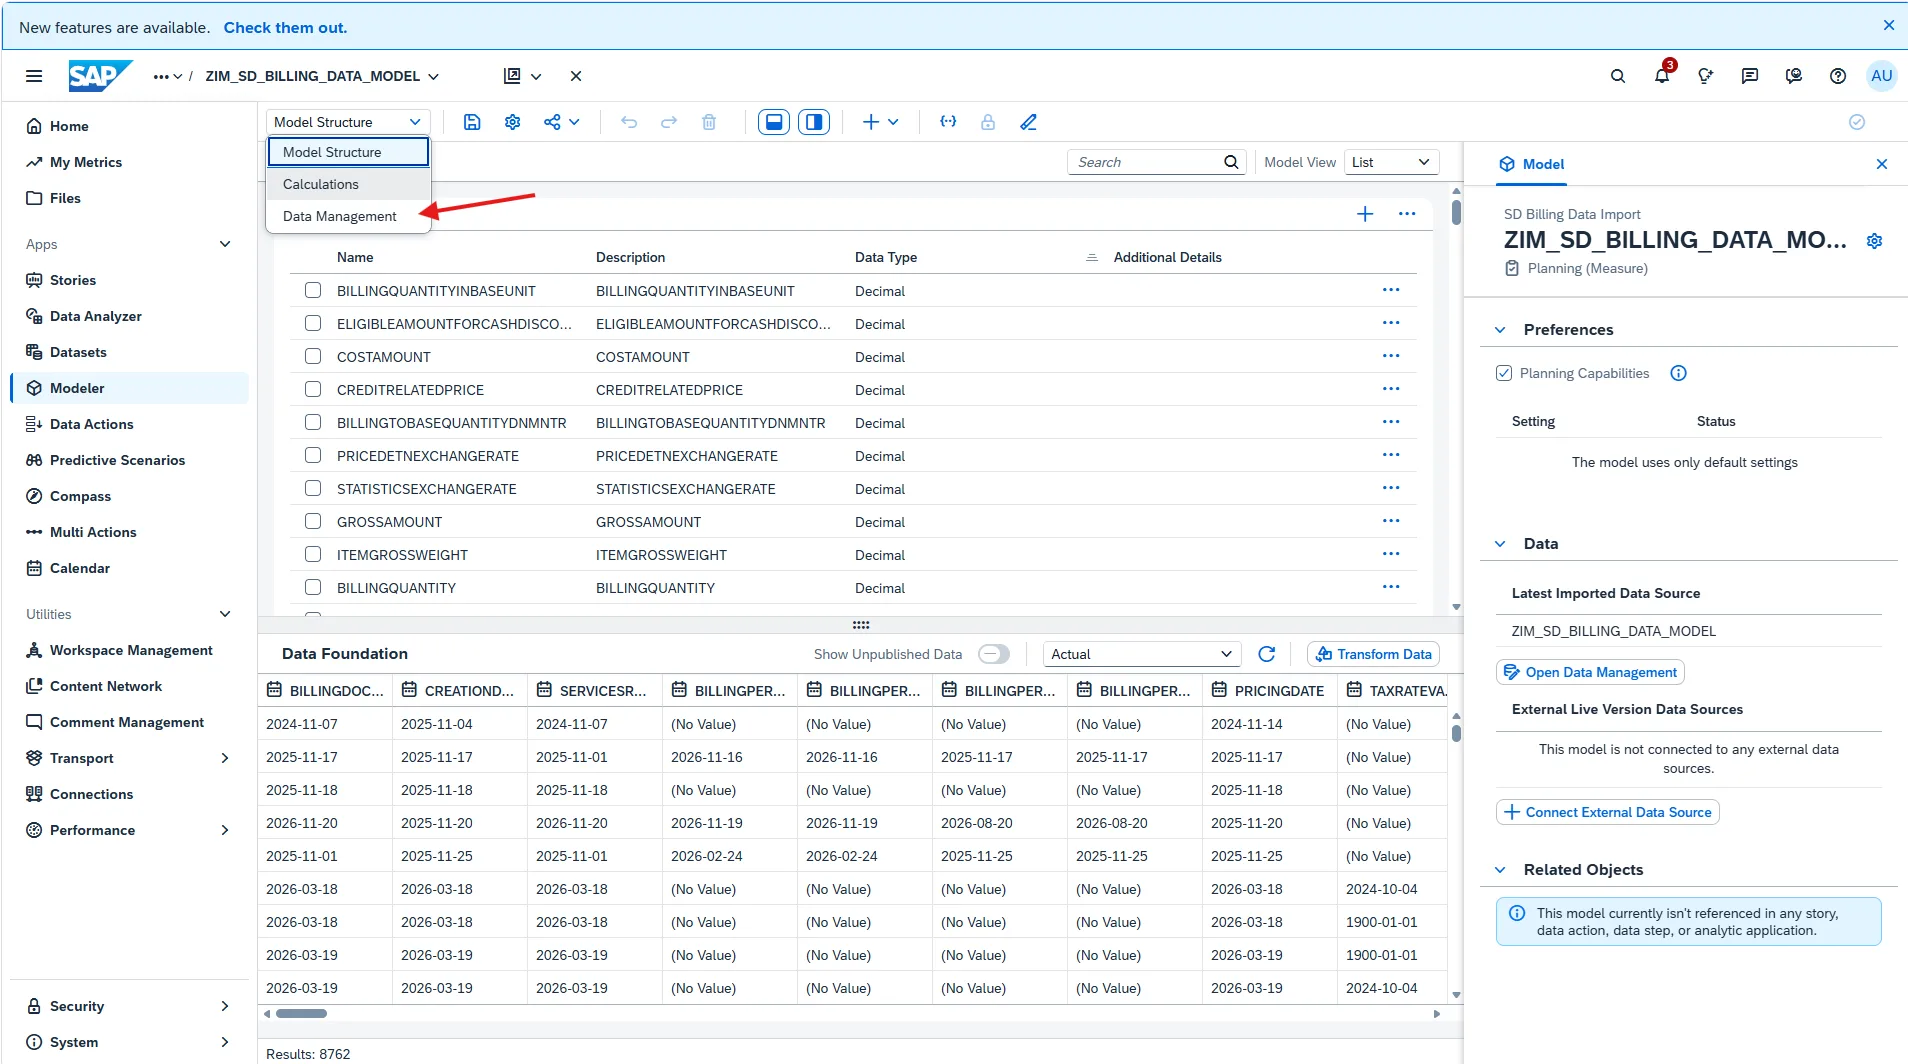
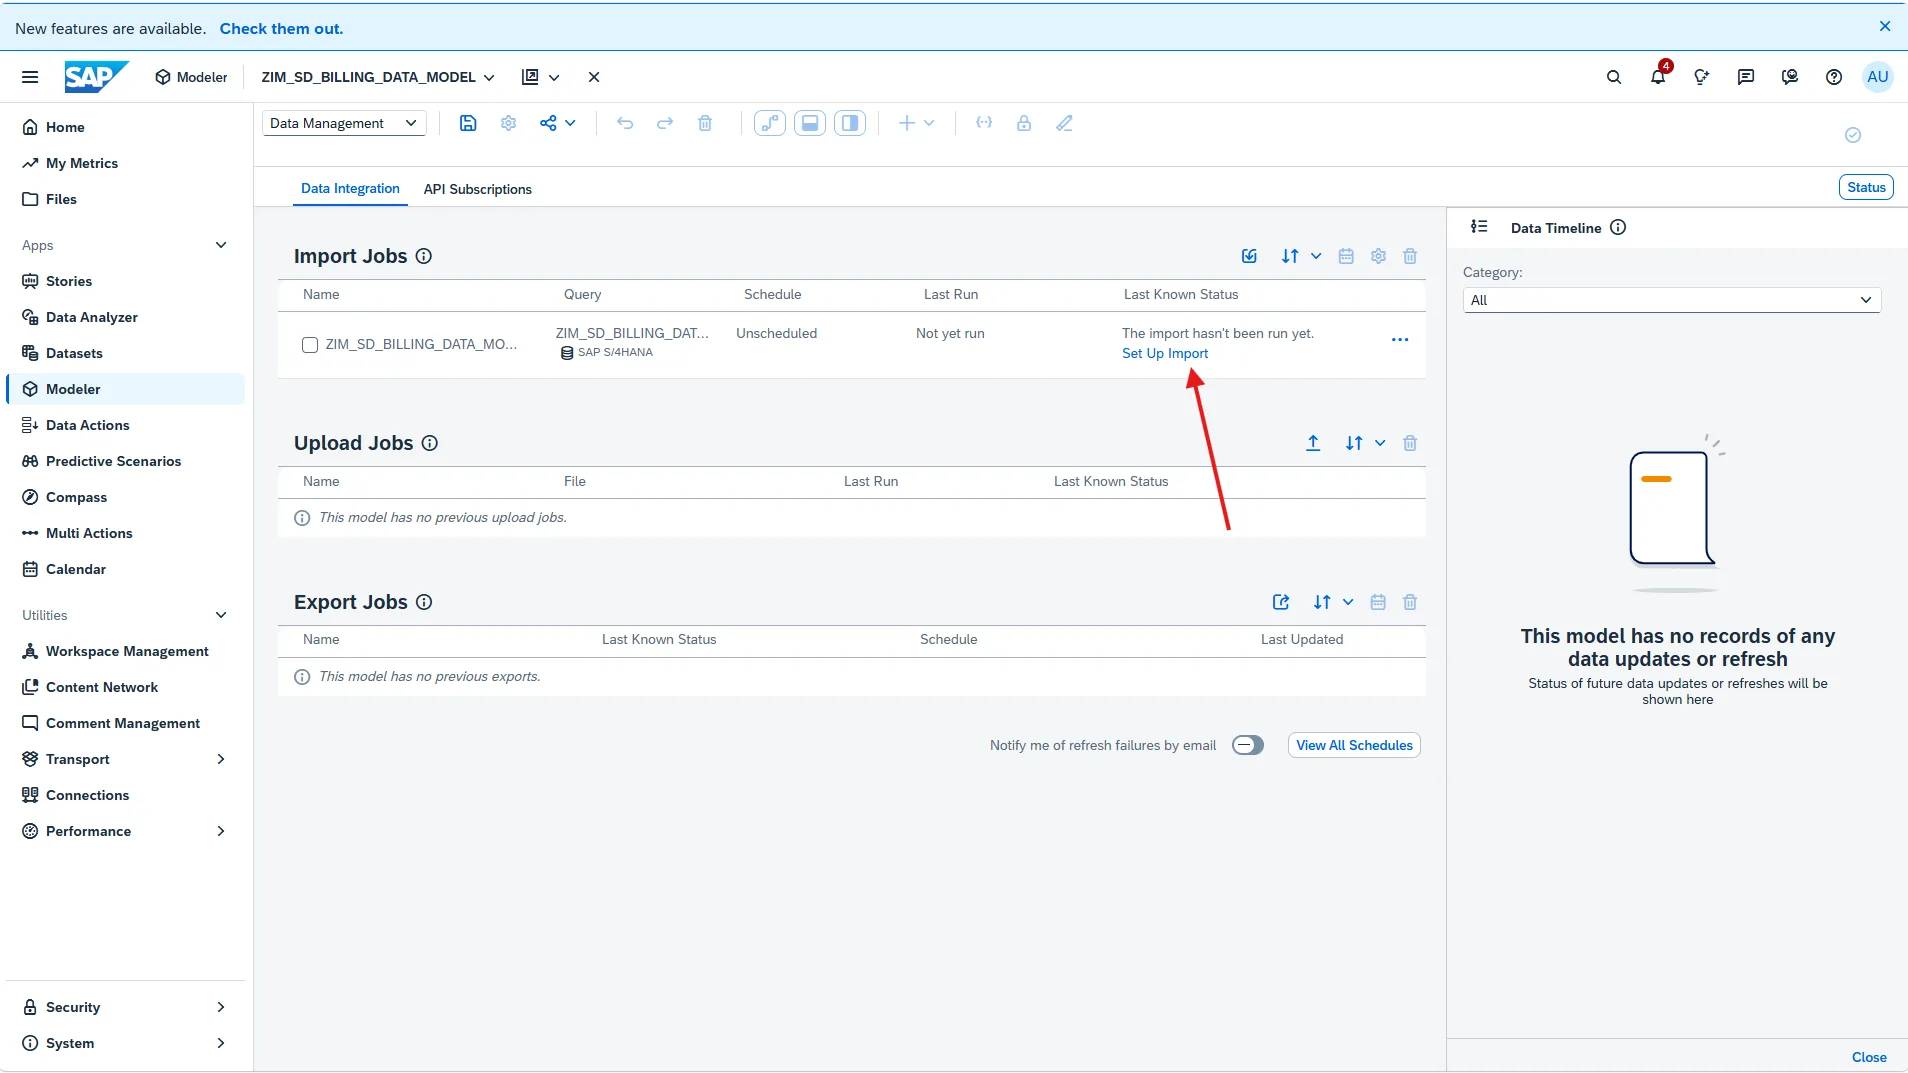
If the model contains no imported data, the Set Up Import option is displayed. This option is available only until the first import is executed.
Click Set Up Import.
Step 7: Prepare the Data
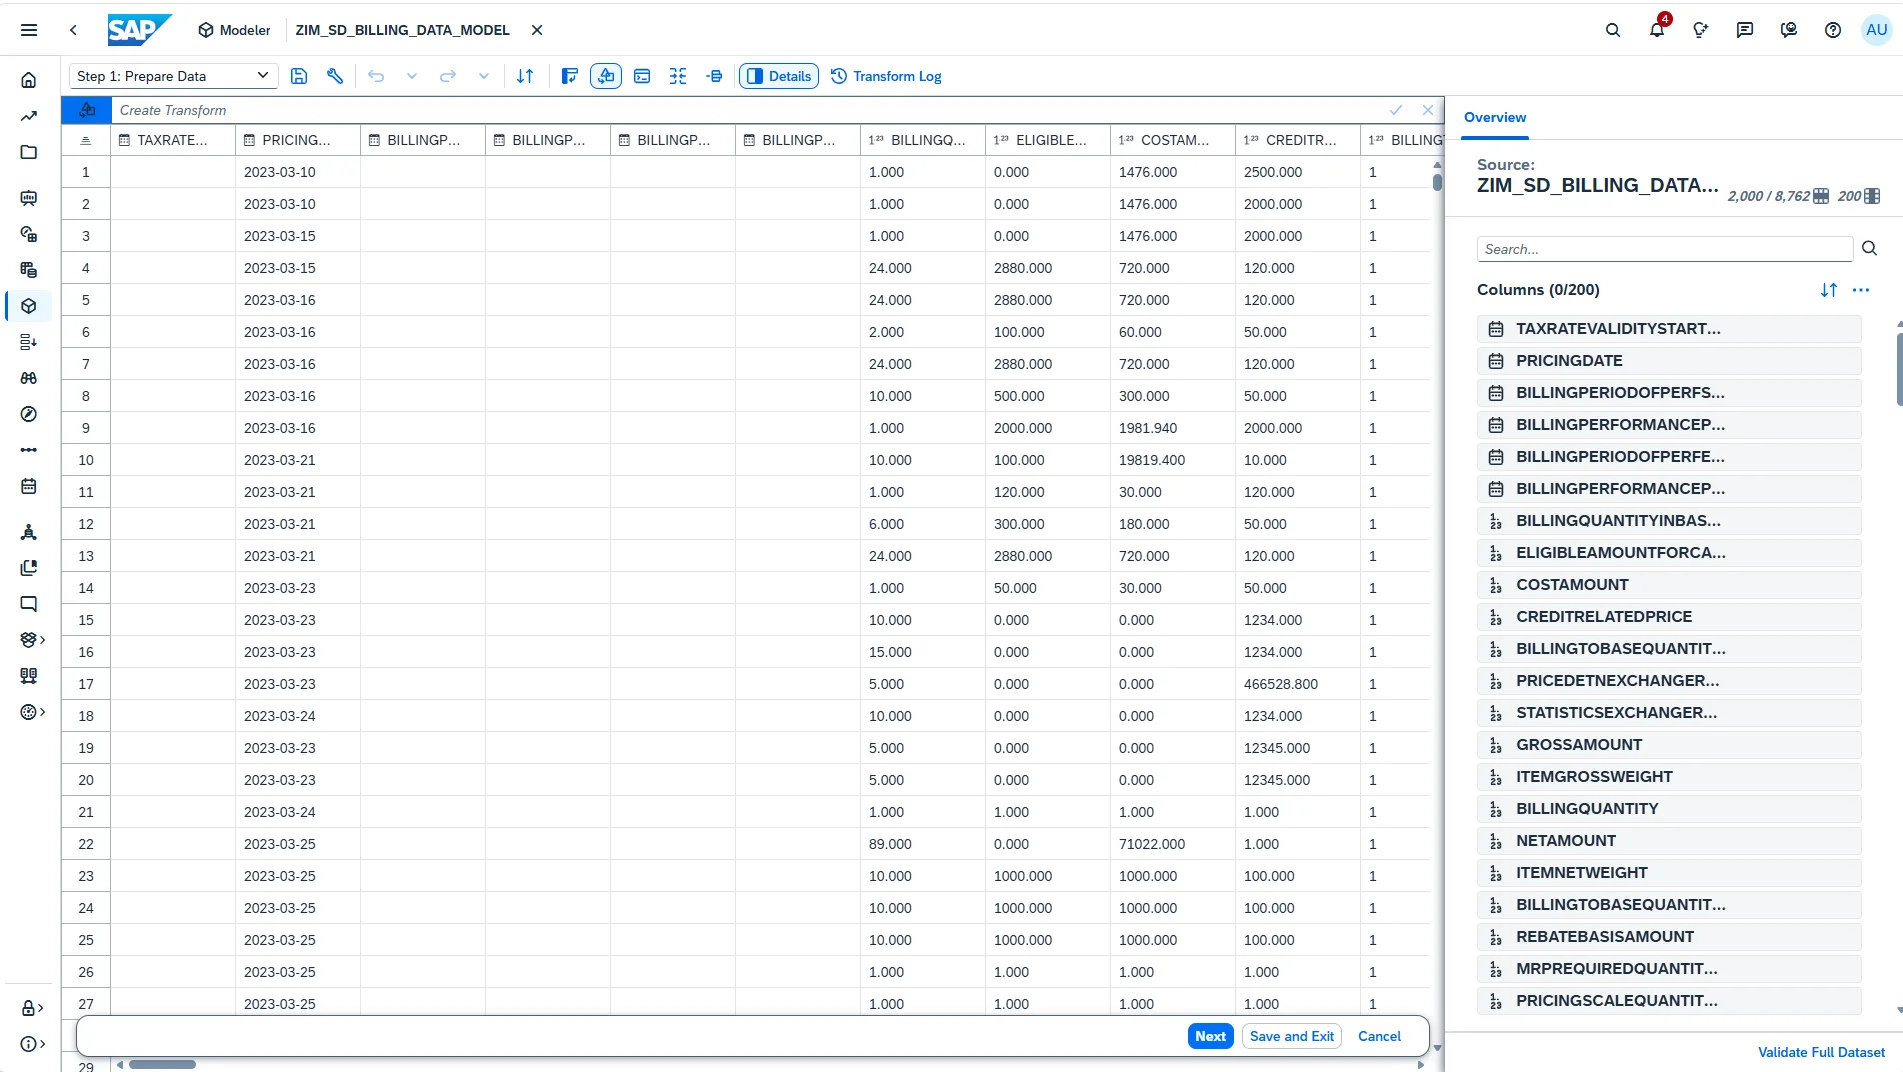
The next screen is the Data Preparation step. Here you can:
- Transform data.
- Add calculated columns.
- Remove unwanted columns.
- Clean and structure incoming data.
Transformation features will be covered in a separate guide. For now, click Next.
Step 8: Map the Fields
Map the source fields to the corresponding model fields.
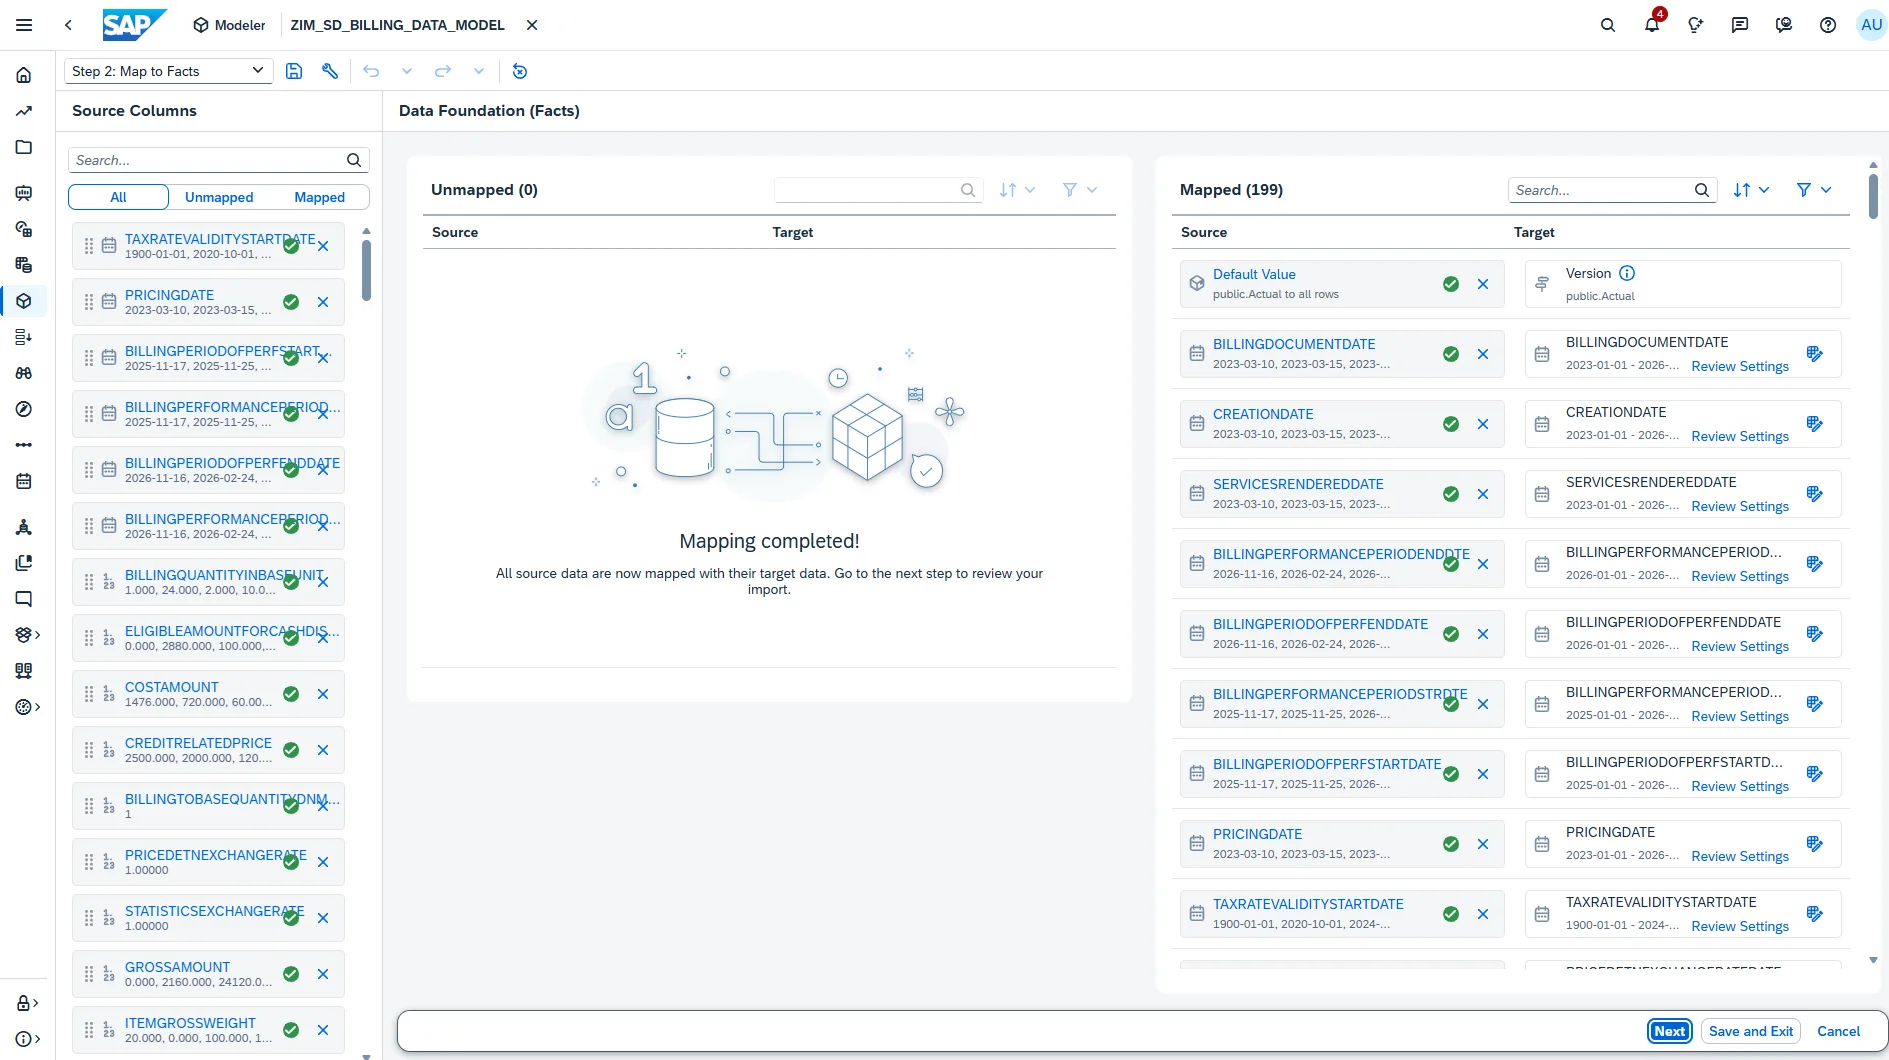
Click Next.
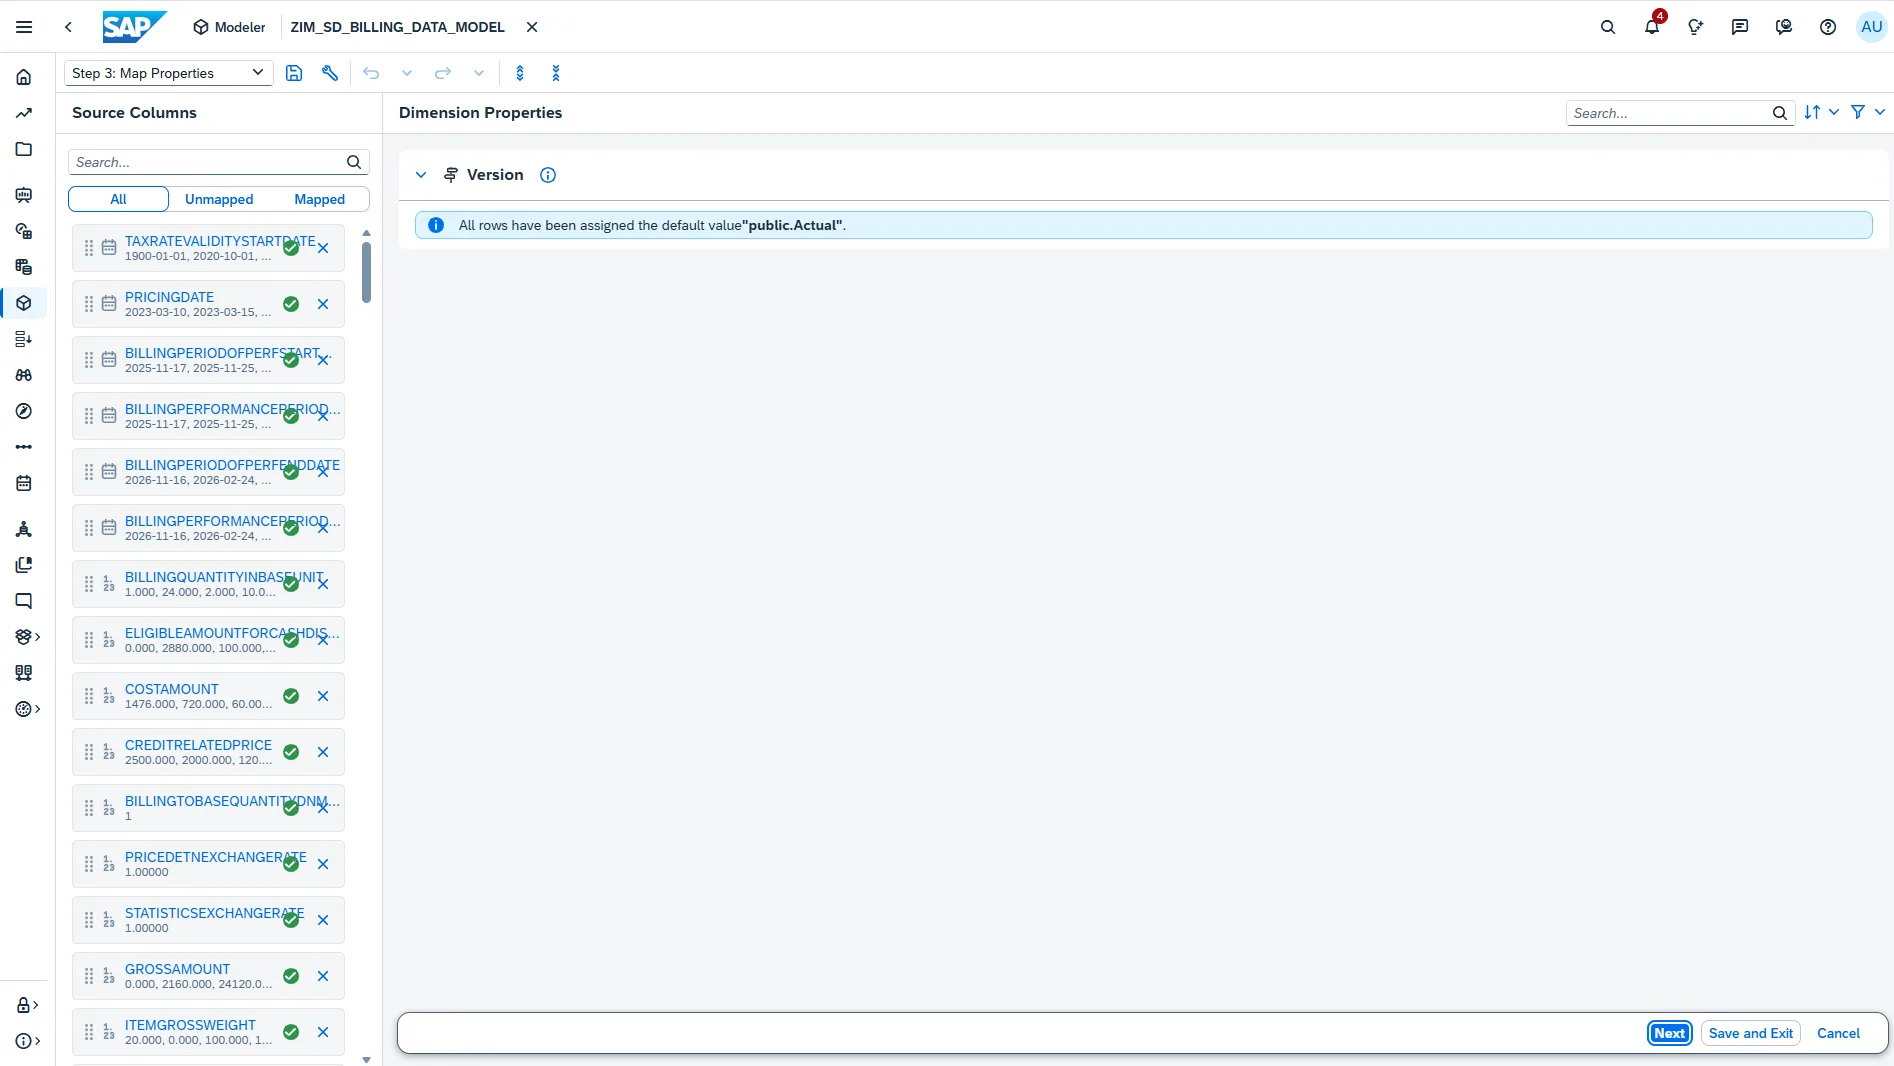
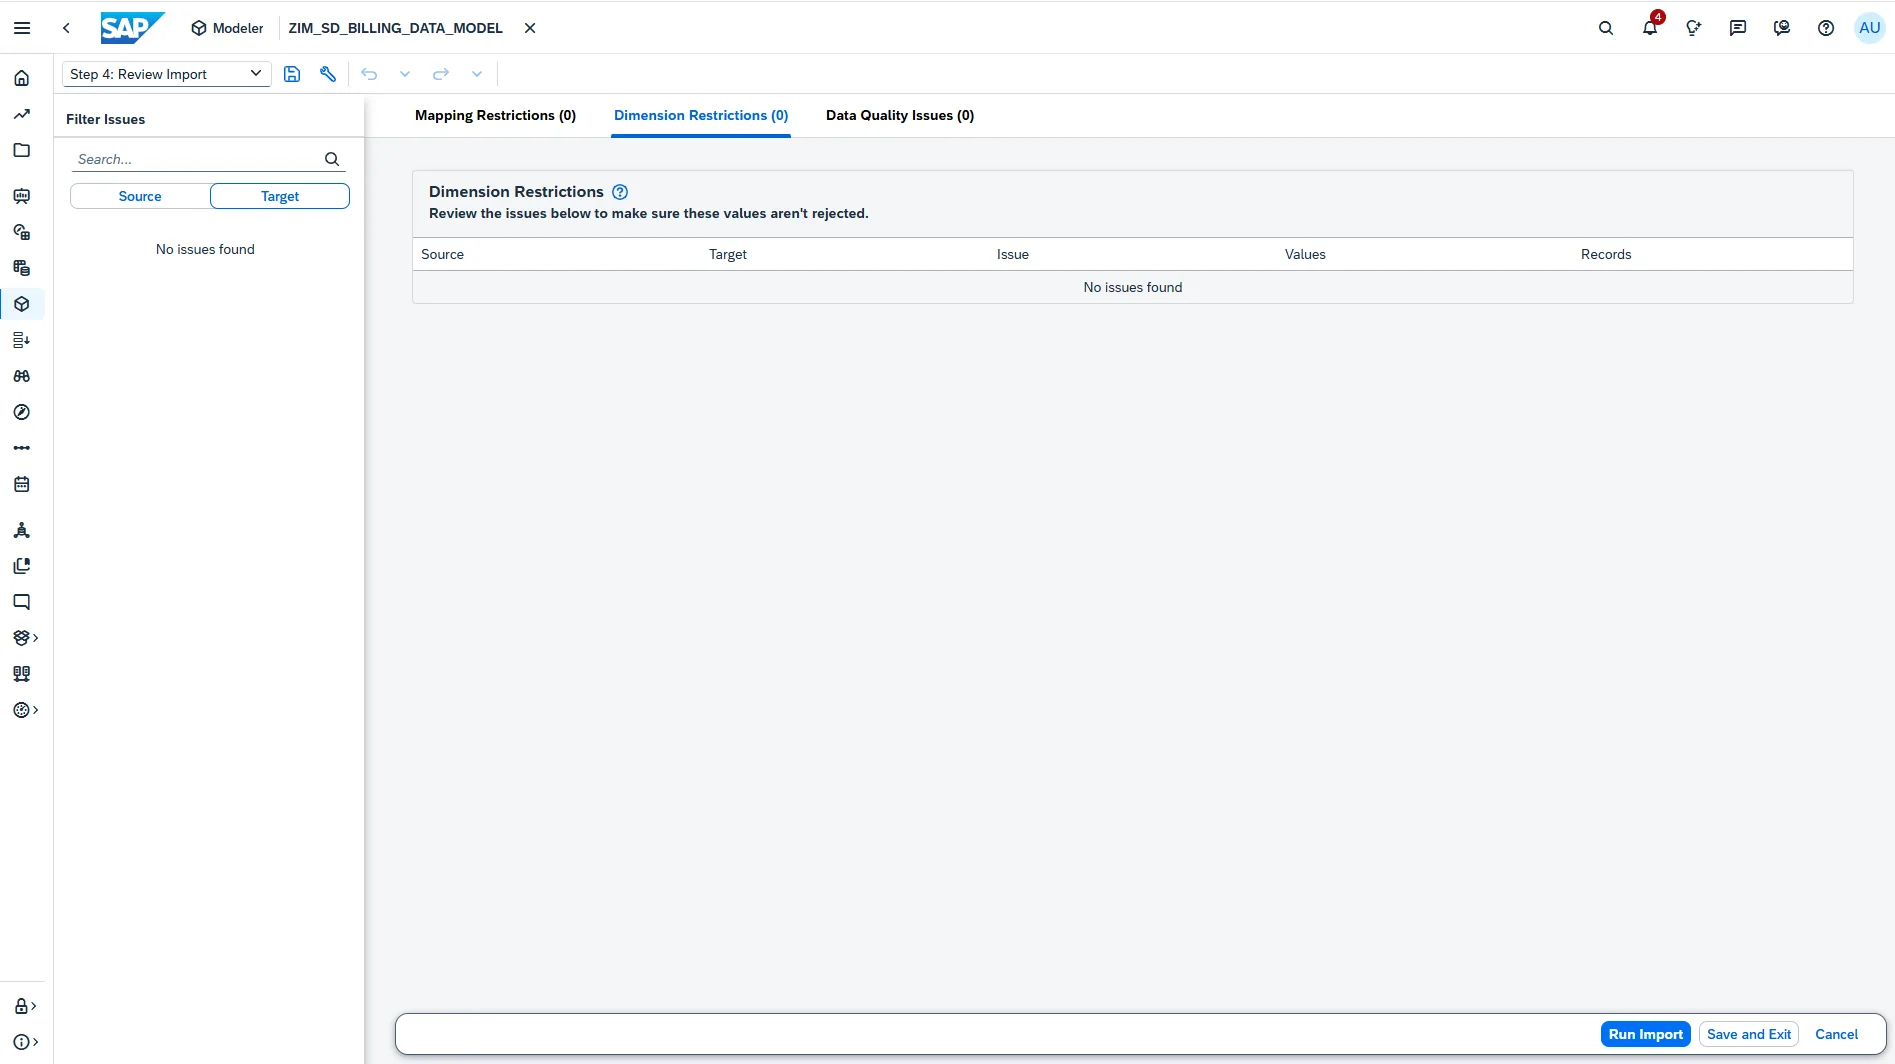
Review the settings and click Run Import.
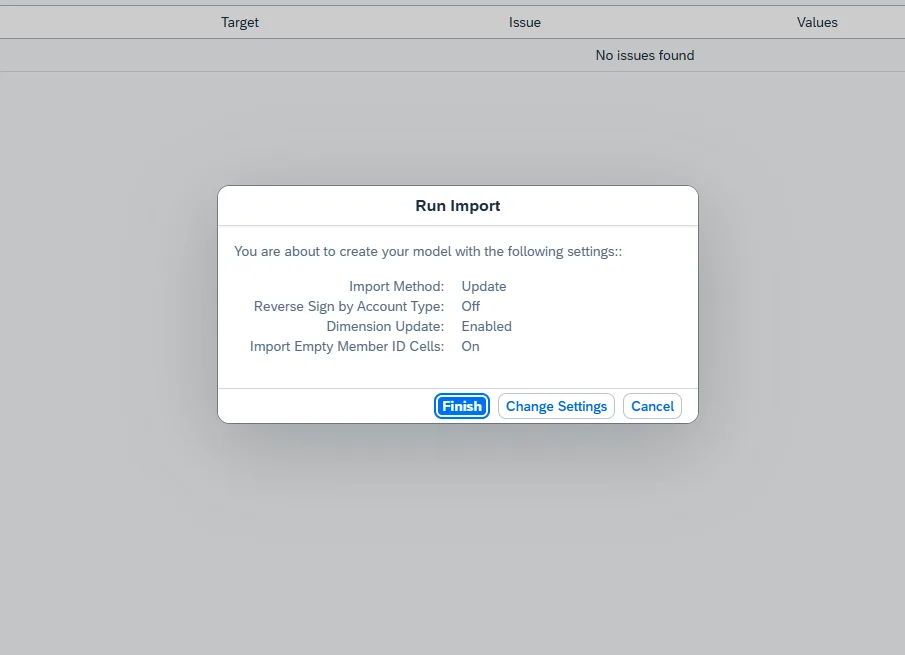
Step 9: Complete the Import Setup
On the final screen, review or adjust the import configuration, then click Finish.
Note: The initial import starts immediately after you click Finish. Duration depends on the data volume in the source system. In our case, approximately 8,000 records were imported in about 2 minutes.
Step 10: Monitor the Import Status
After a successful import, the details are available in the Data Timeline section.
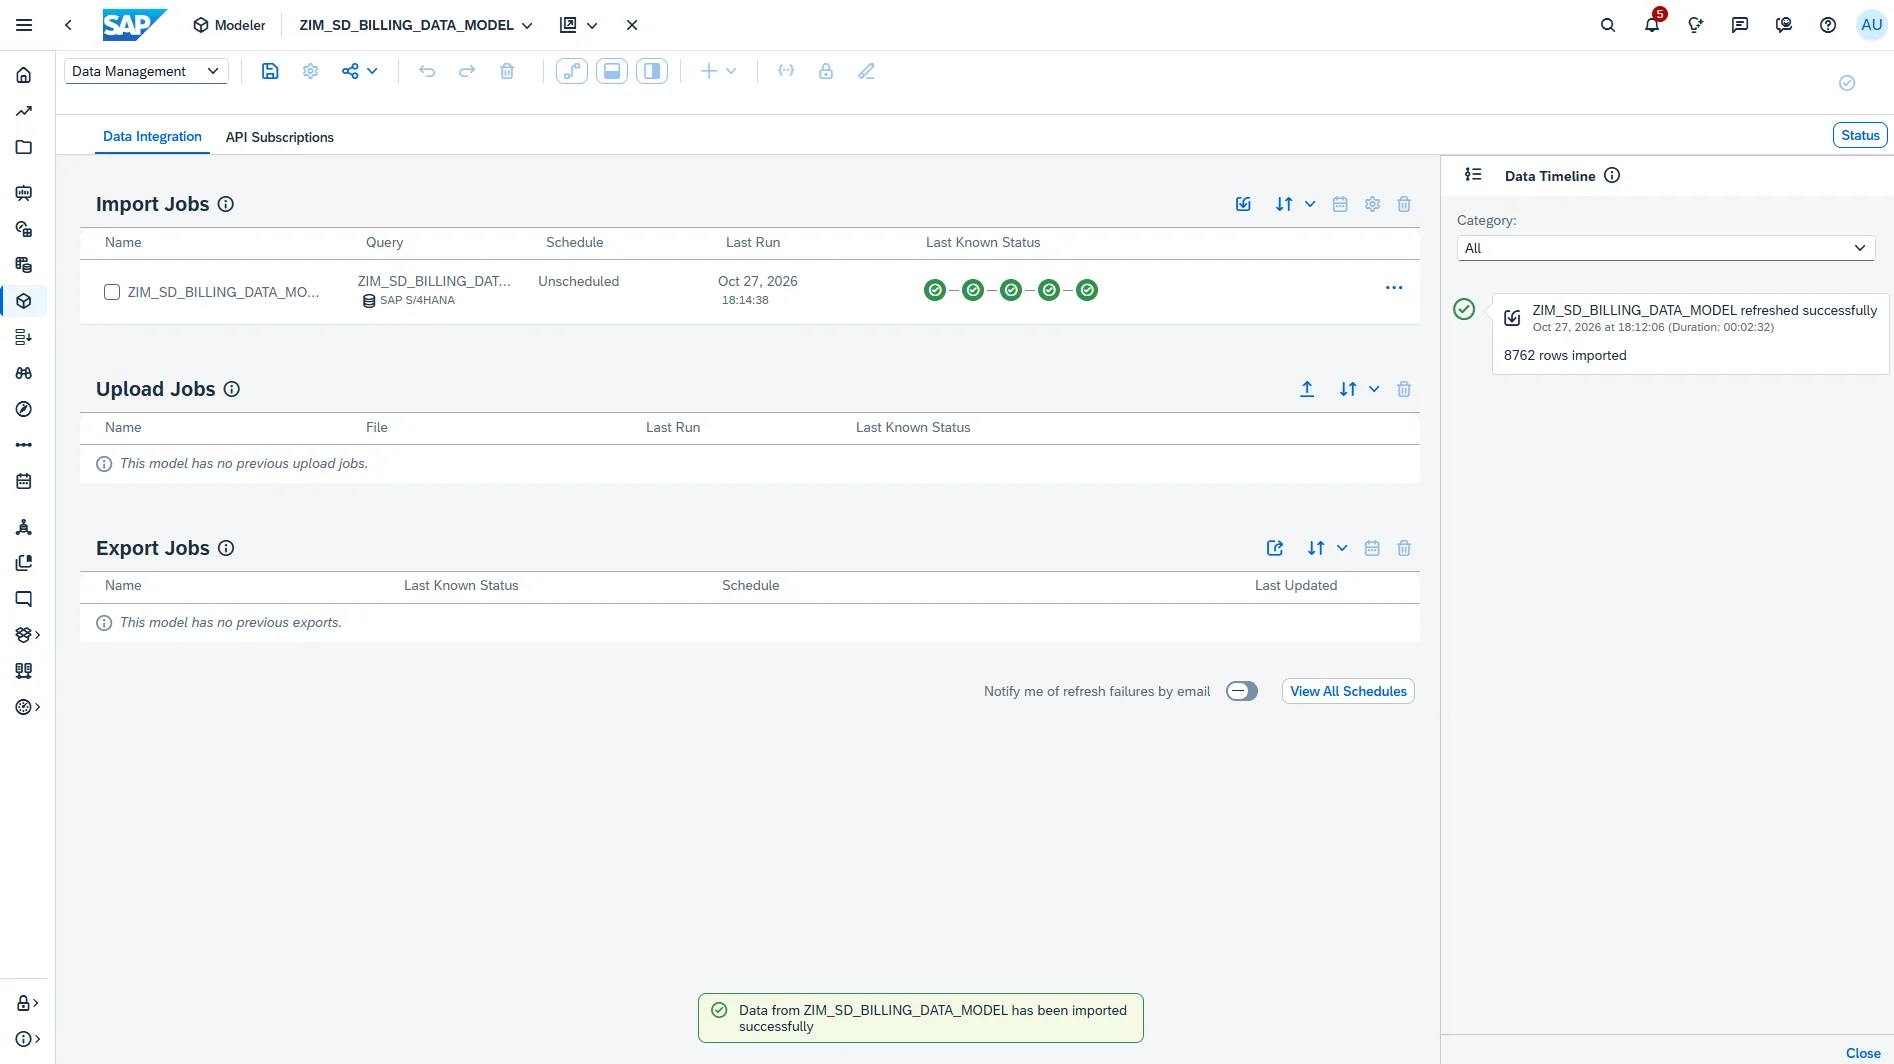
At the top of the Data Management screen, you will also find Schedule Settings.
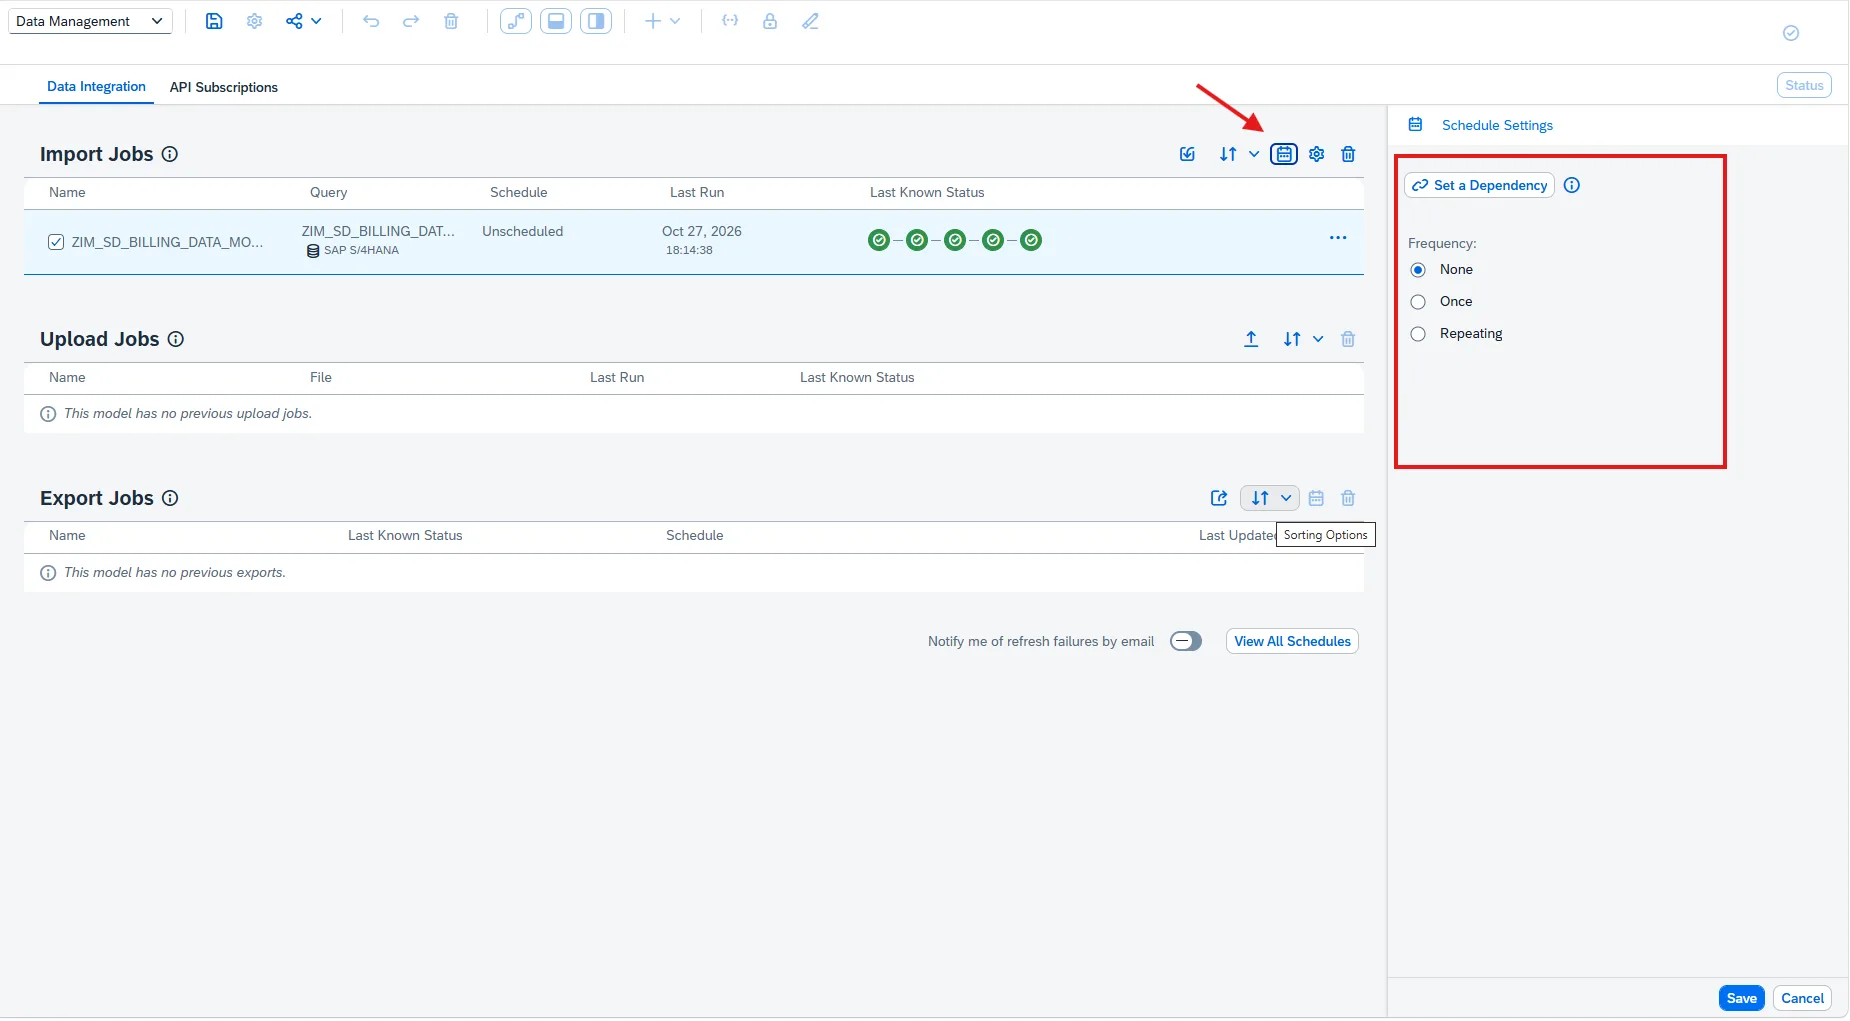
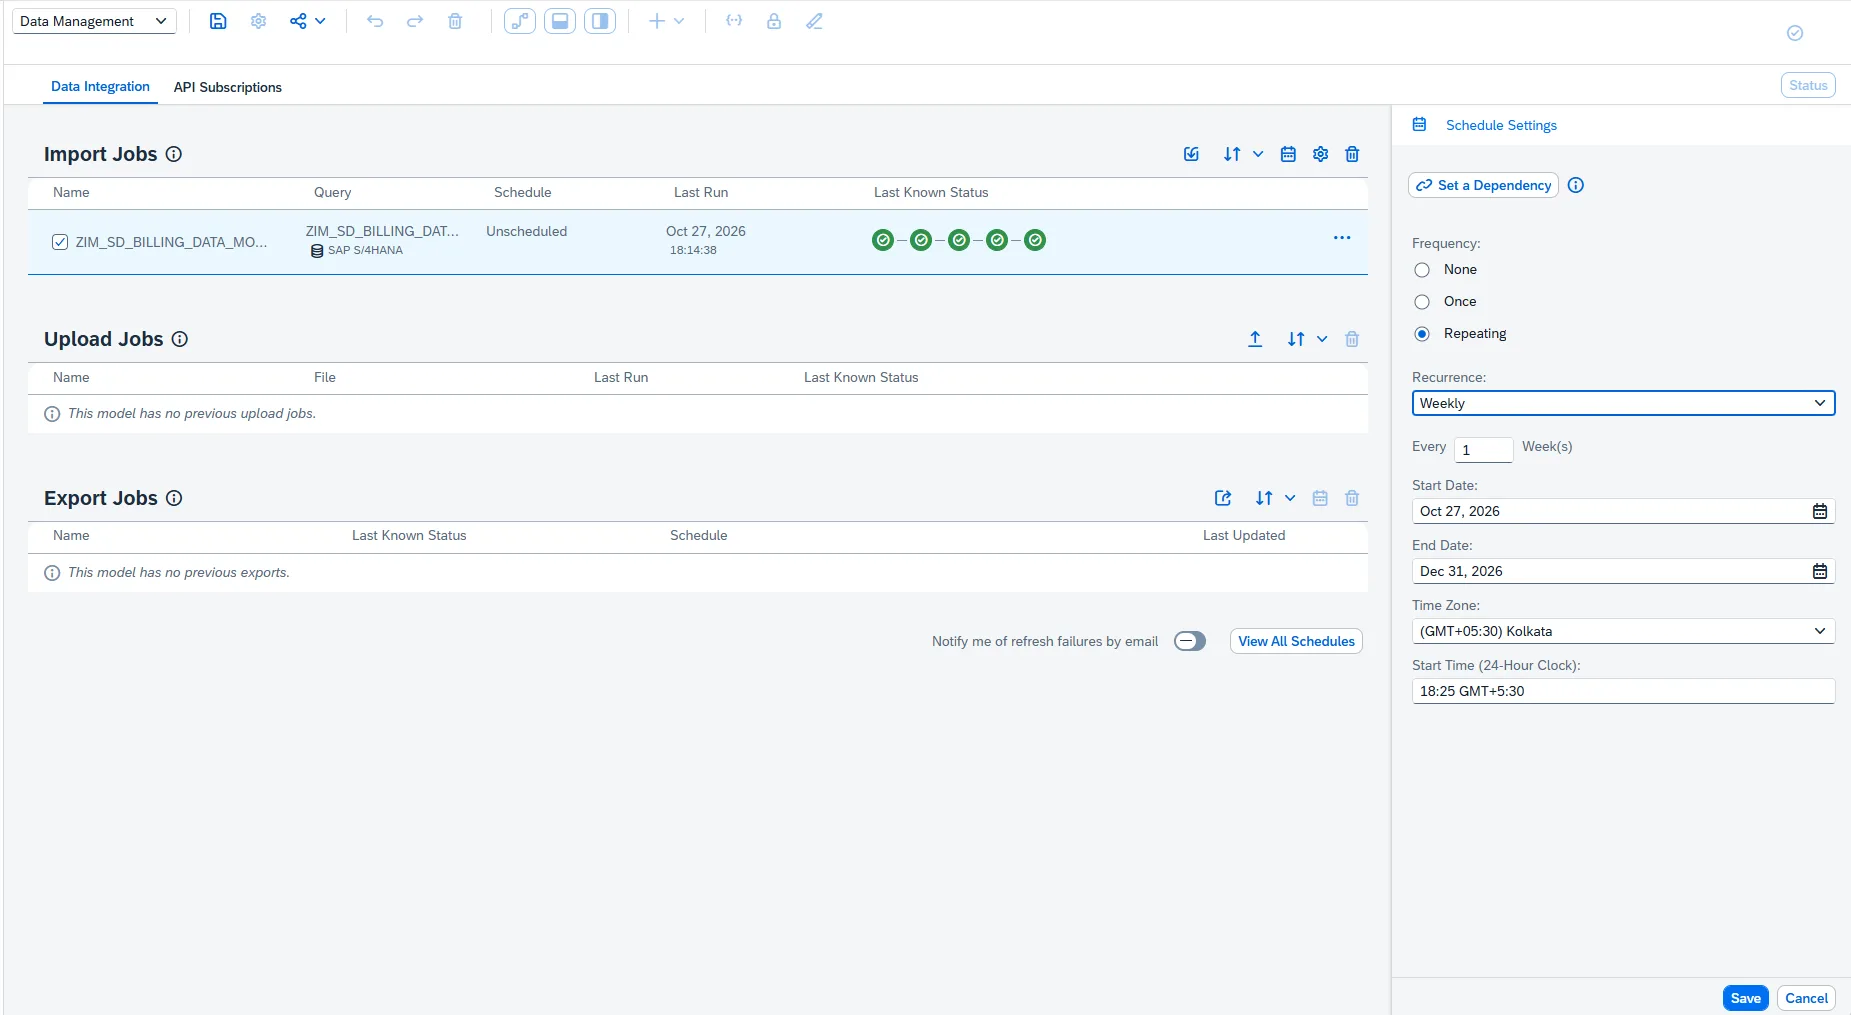
Step 11: Schedule Recurring Imports
Scheduling keeps your model current without manual effort. The available frequencies are:
- Once
- Daily
- Weekly
- Monthly
- Yearly
- Never
Select the frequency that best fits your reporting requirements.
Phase 3: Validate the Imported Data
Step 12: Open Data Analyzer
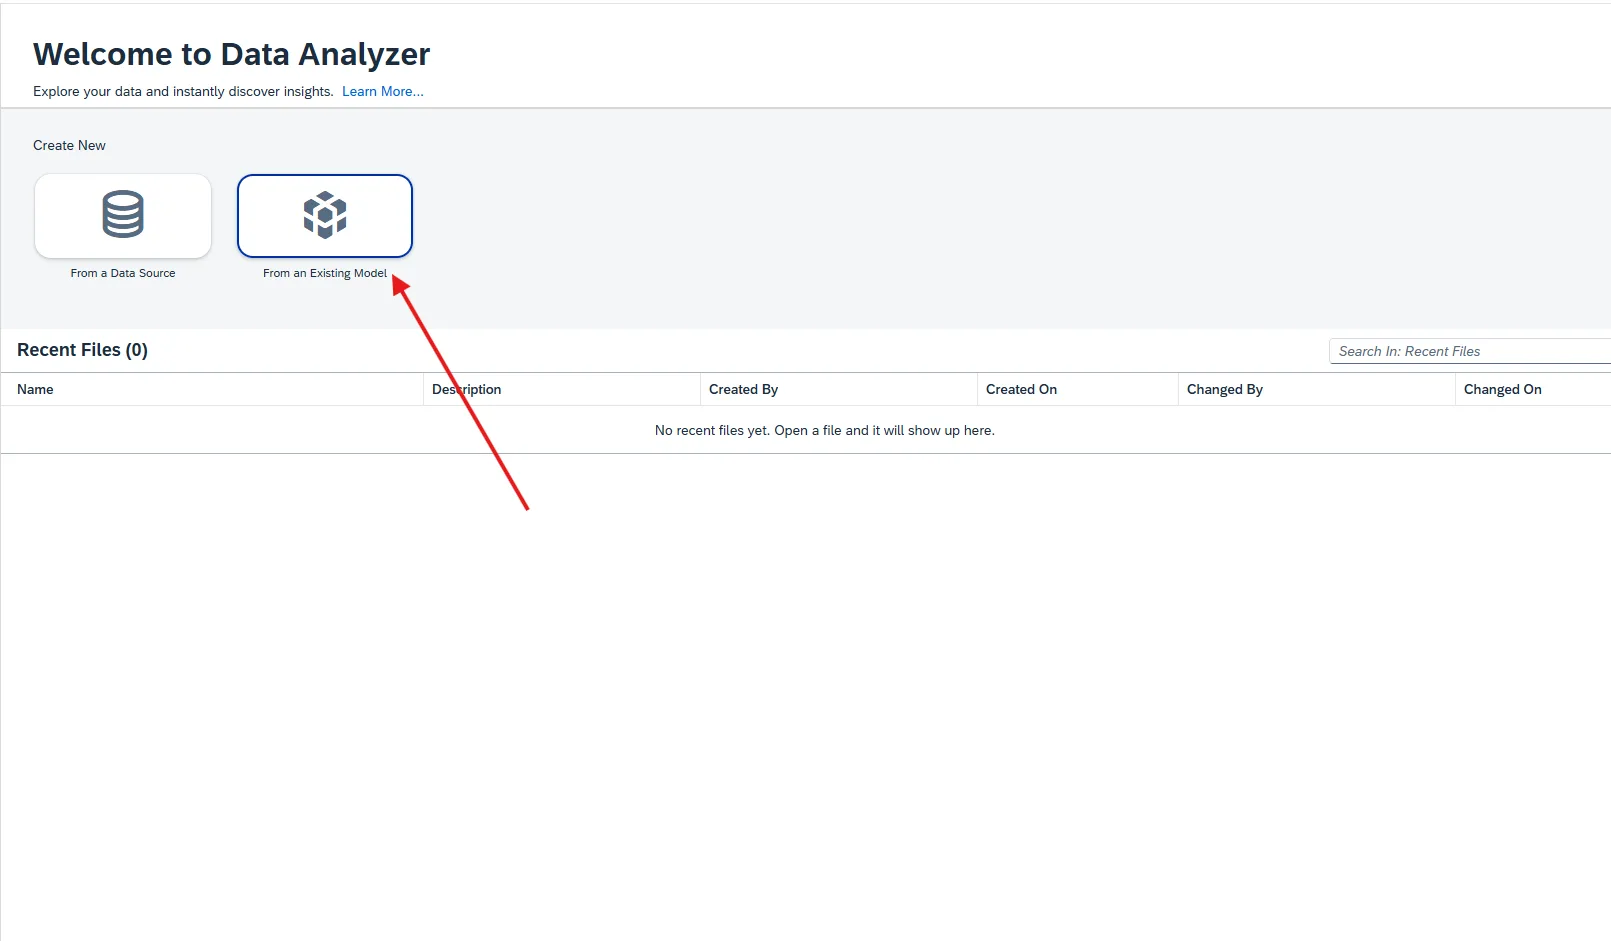
To verify and explore the imported data, open Data Analyzer.
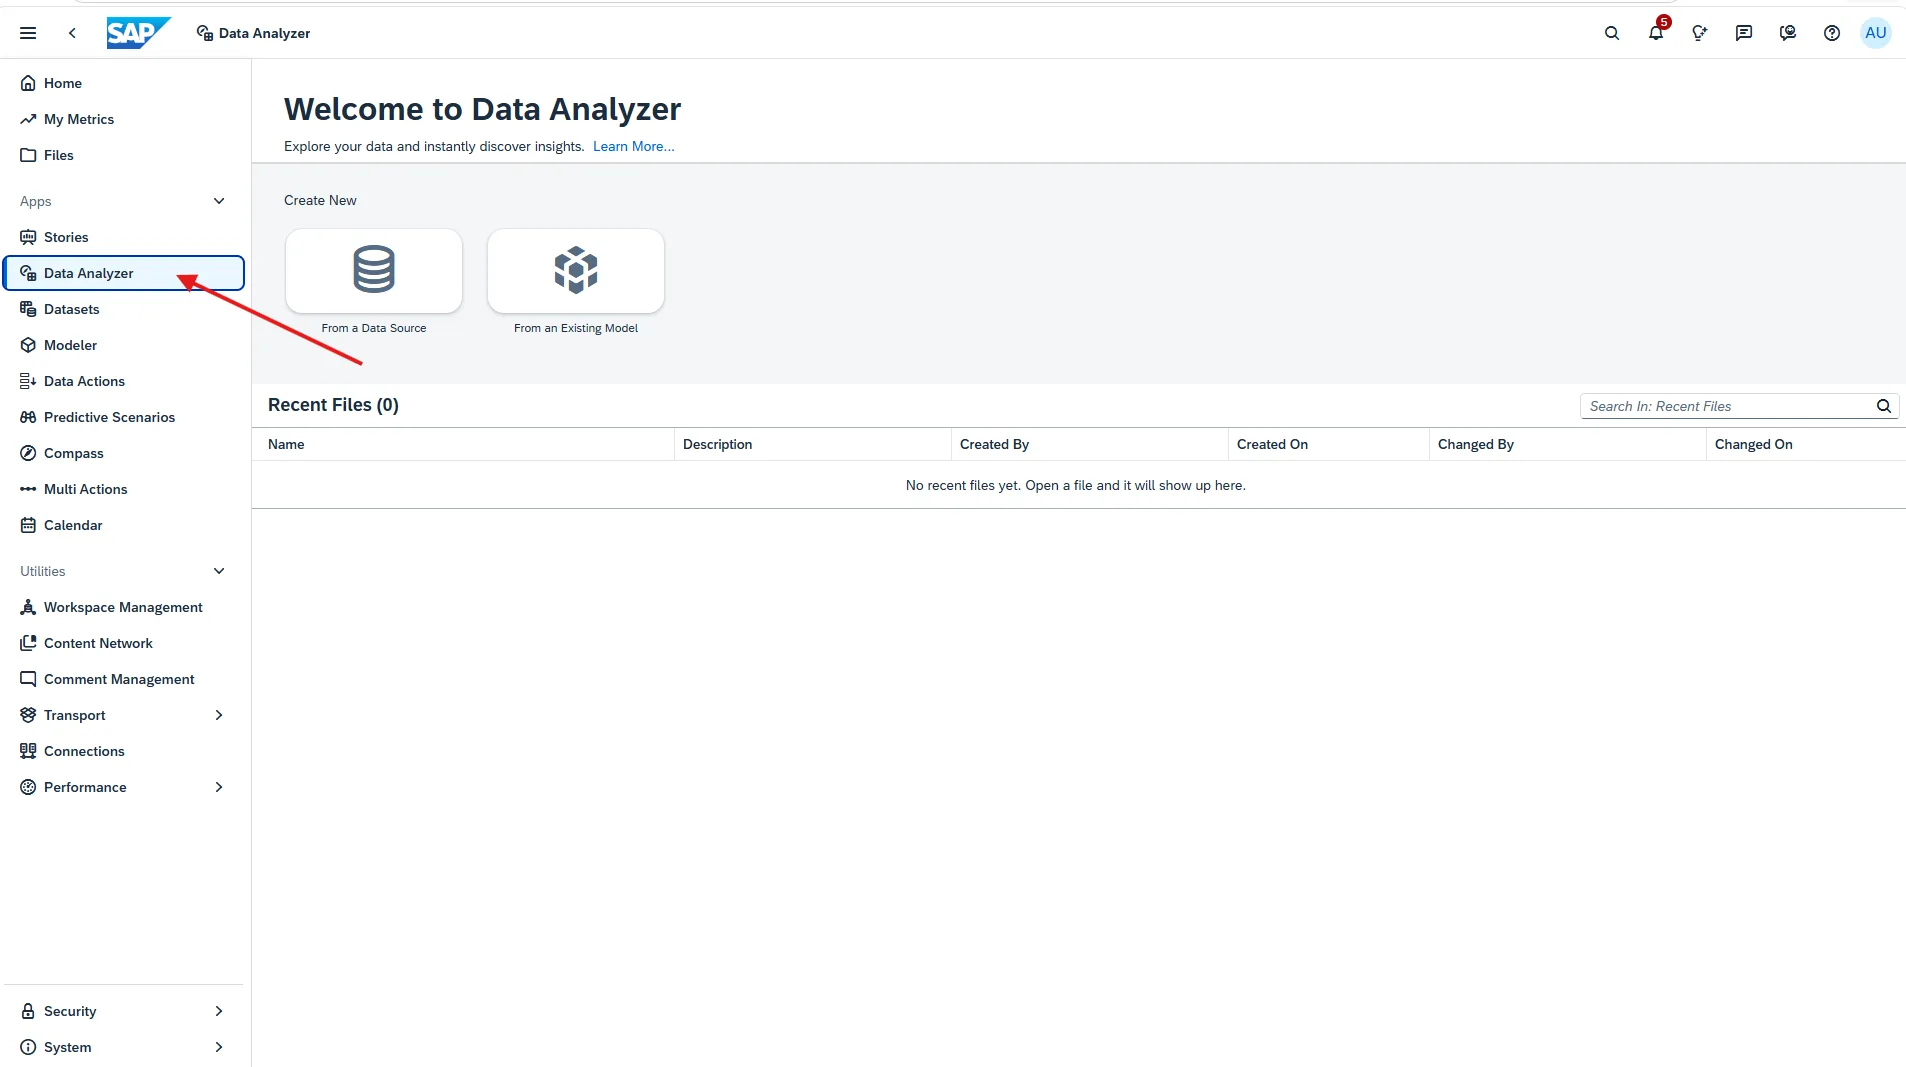
Data Analyzer supports two kinds of sources:
- Data Source: Reads live data directly from the SAP source system.
- Existing Model: Reads data stored in the SAC model.
To validate the import, choose Existing Model.
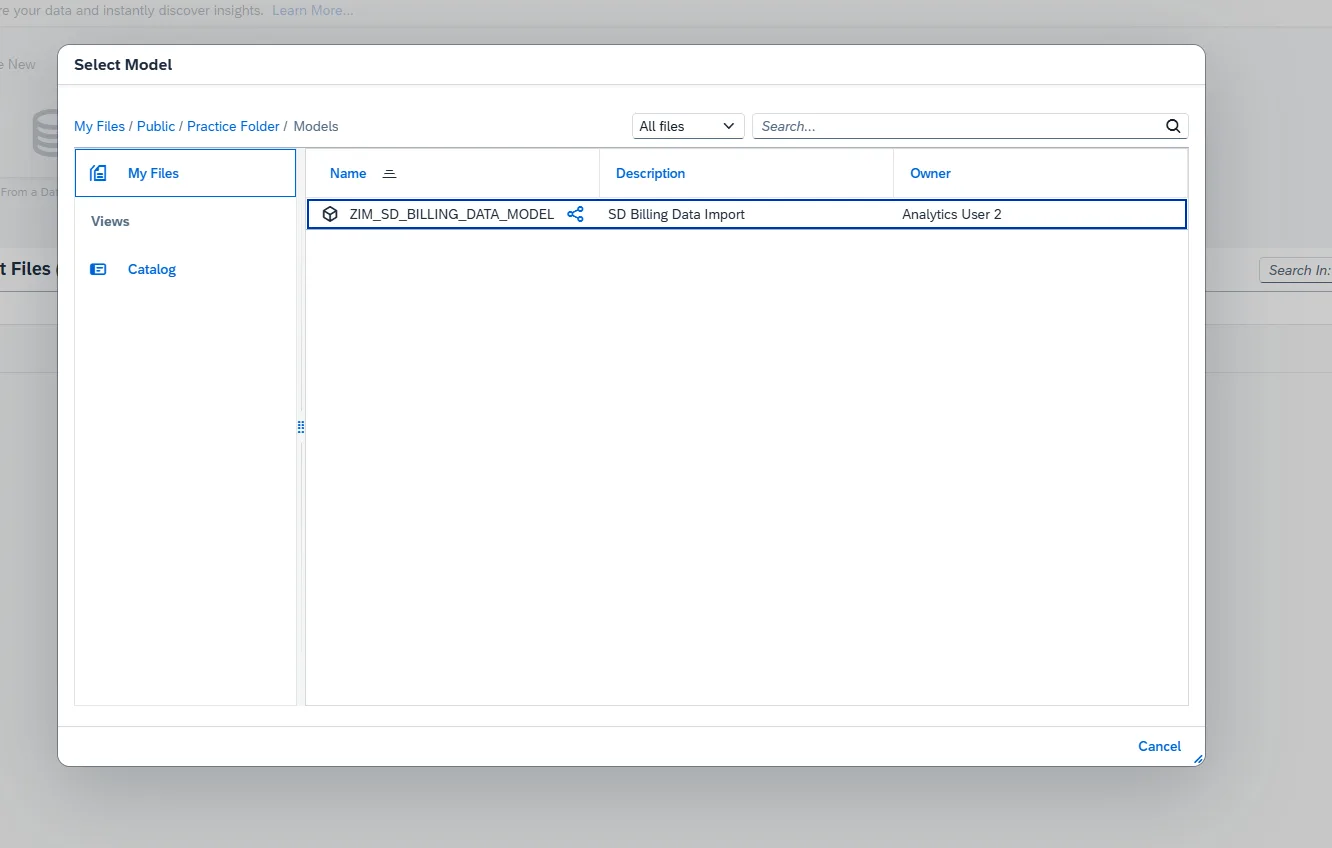
Select the model you created.
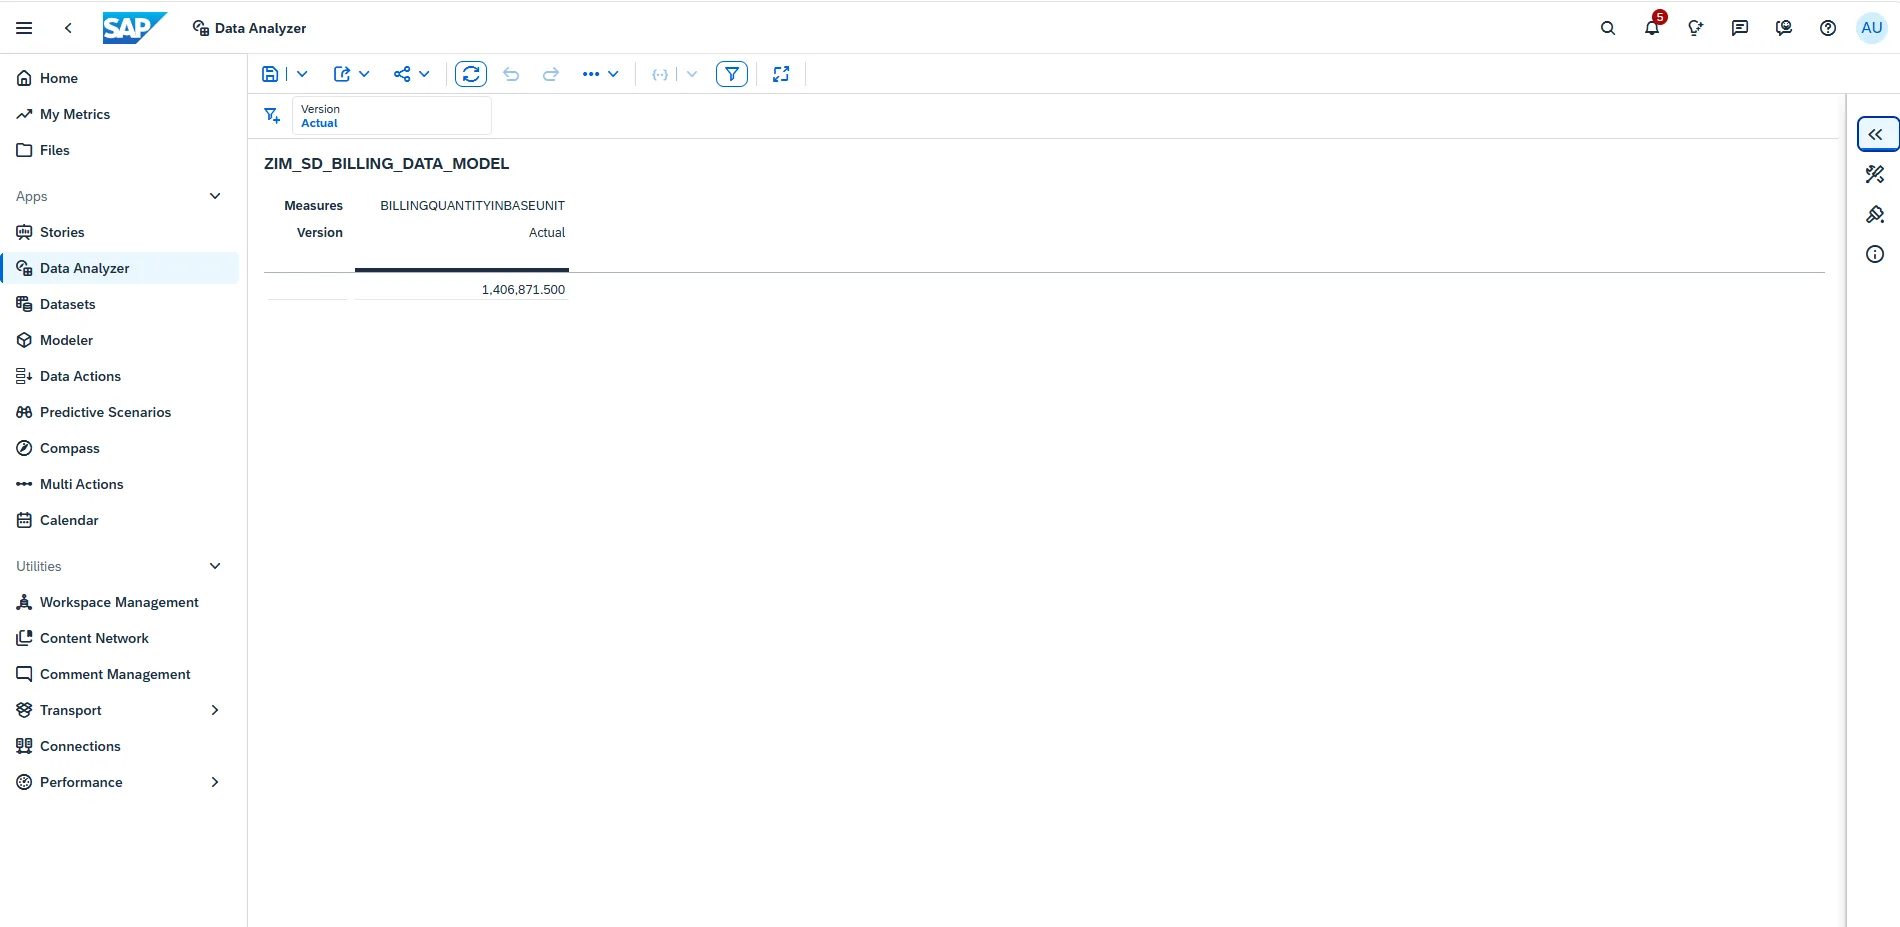
The imported data is displayed.
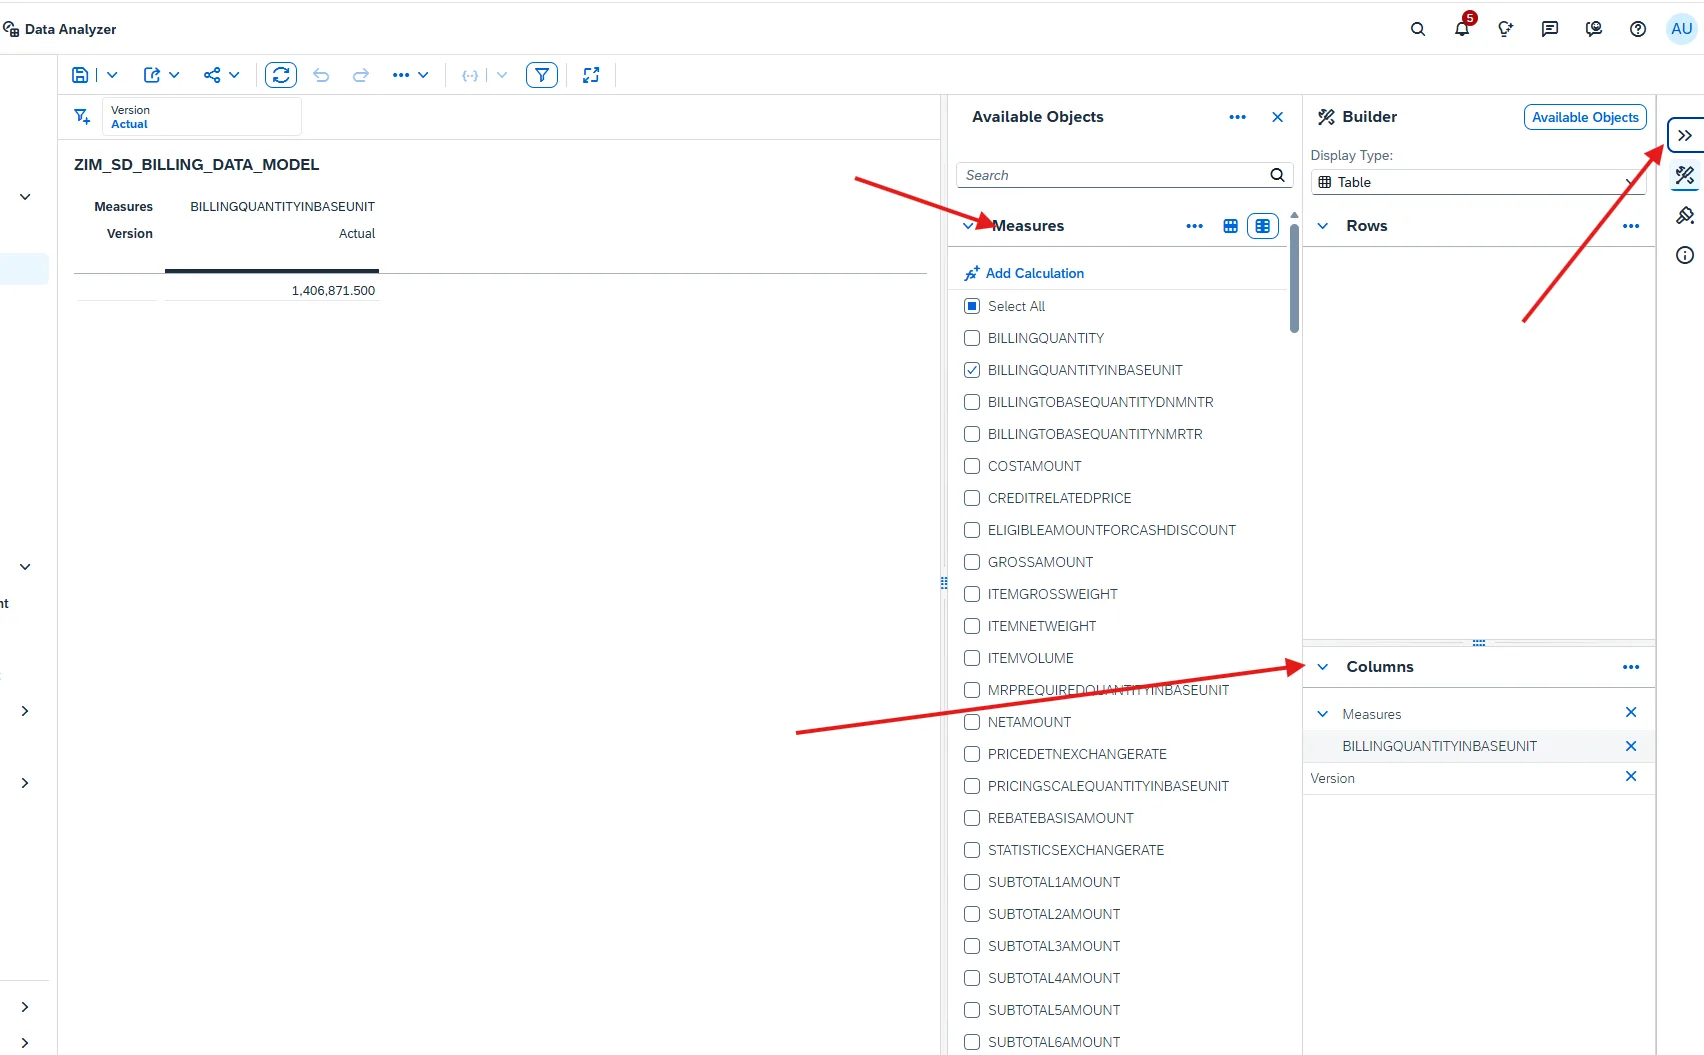
You can rearrange measures, dimensions, rows, and columns to build different analytical views and validate the dataset.
Summary
In this guide, we created an Import Model in SAP Analytics Cloud and loaded data from SAP S/4HANA Public Cloud:
- Model creation using Start with Data and an existing S/4HANA connection.
- Source selection of the custom CDS view
YY1_Billing_Document_Data. - Key field and batch size configuration to support delta loads.
- Initial import of approximately 8,000 records through Data Management.
- Import scheduling for automated refreshes.
- Validation of the imported data in Data Analyzer.
The model is now ready to be used in Stories, where you can build dashboards and reports for business users.